
This is the first post in a series on the remodeling process of a bathroom.
I’m helping my brother-in-law Rob remodel a second bathroom in their house.
So if you’re interested in seeing how we do it, stay tuned!!
The first step was to remove all the old fixtures.
But that isn’t all that interesting.
So I’ll begin this blog post series with us installing the new bathtub.
Bathtub Options and Subflooring
What kind of tub do you want?
It depends on your space and budget.
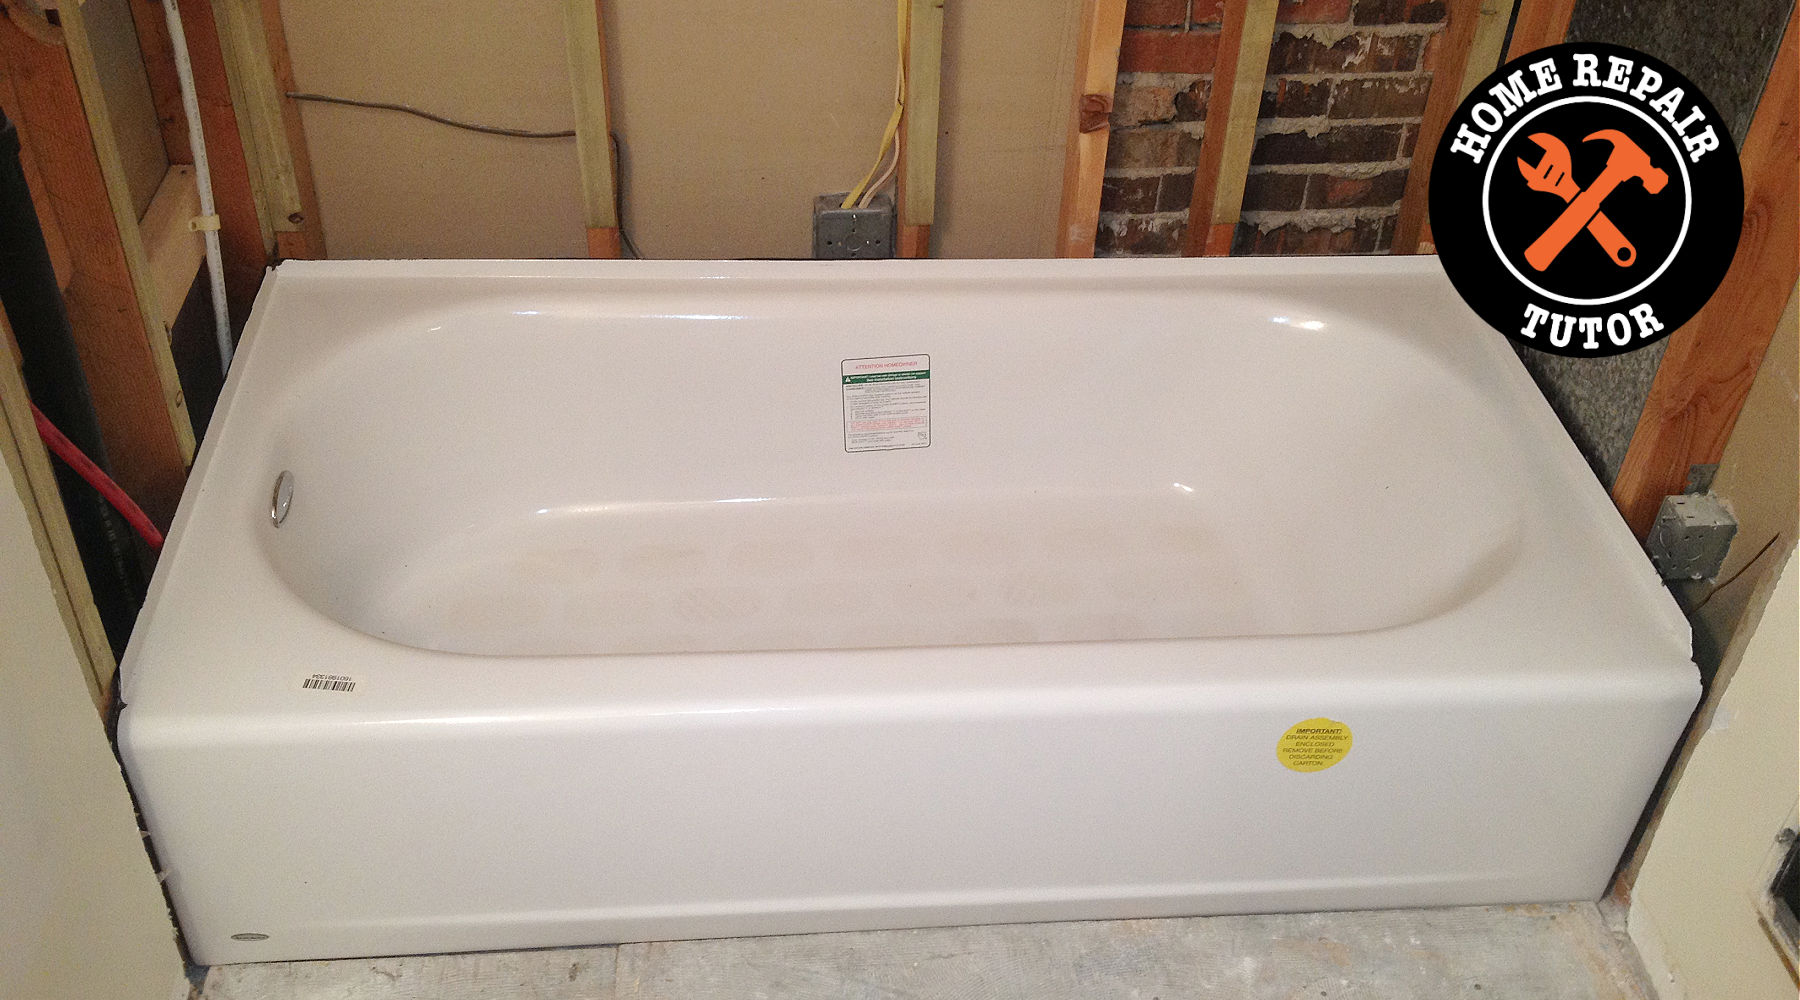
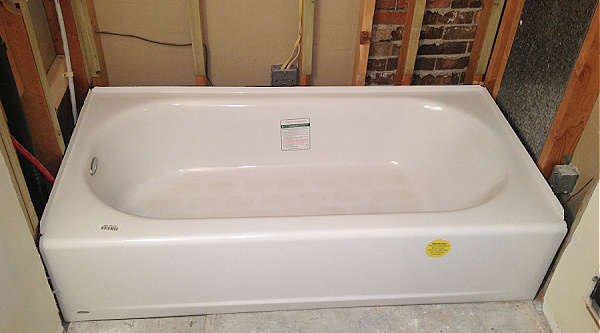
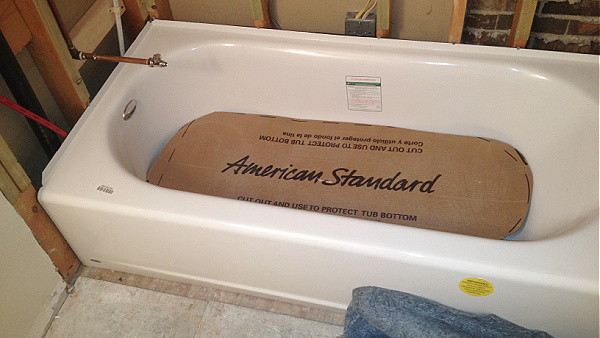
Rob chose an Americast American Standard tub for its durability and price ($420-$2800).
Acrylic tubs are cheaper but sometimes they flex way too much.
If you go that route, look at Kohler and Duravit tubs because they’re sturdy.
Cast iron tubs, while durable, are super heavy. So they’re not easy to install.
The Americast tub weighs about 100 lbs. So we had no problem positioning it.
Here’s a view of the space where the tub will reside.
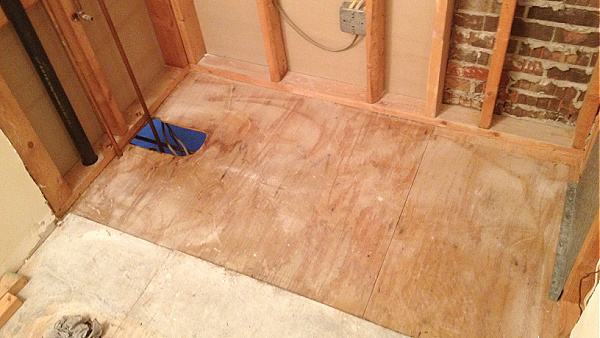
We took a good look at the existing subfloor.
It was in good shape and no dry rot was detected.
But really inspect this space and ensure the bathroom subfloor doesn’t need to be repaired.
Subfloor issues will increase the chances of plumbing leaks to develop as well as caulk failures between the tub & tub surround.
If the subfloor isn’t level – and the floor joists are in good shape – you can always self-level the floor.
That said, if your tub requires a mortar bed underneath, just use that to level the tub.
Bathtub Stud Walls
Make sure the studs are plumb and even.
Place a level on the face of the stud and see if the stud is close to vertical.
Normally, most 1/2-inch backer board requires 16-inch on-center stud spacing.
Plumb and even studs are important for cement boards and foam boards – for example, KERDI-BOARD.
If a stud isn’t plumb you can always “sister” a second stud to it.
The process sounds daunting but it’s very straightforward.
Simply use 3-inch construction screws to join the new stud to the old one.
If you’re using KERDI-BOARD, another option is to wet-shim the wall with thin-set mortar.
On the flip side, if studs bow out, you can plane them down.
Here’s a short video showing how to do that
Bathtub Stringers
The Americast installation instructions require a 2 x 4 stringer to be attached to the studs on the far wall (which is about 5 feet in length).
A stringer is just a stud itself cut to size.
The bathtub’s weight will be supported by this stringer and the apron.
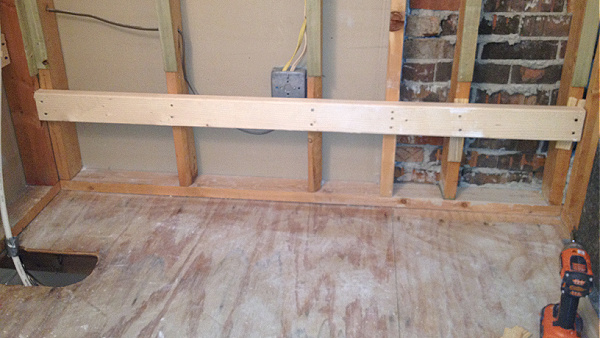
Use two 3-inch construction screws per stud to secure the stringer.
We moved the Americast tub into the alcove. And then pulled it away from the wall to expose the stringer.
We placed a generous 1/4″ bead of silicone caulk on top of the stringer in an S-pattern.
This will secure the bathtub to the stringer.
How to Attach The Tub to the Wall
Attaching the Americast bathtub to the stringer was easy.
We used 1-3/4-inch galvanized roofing nails.
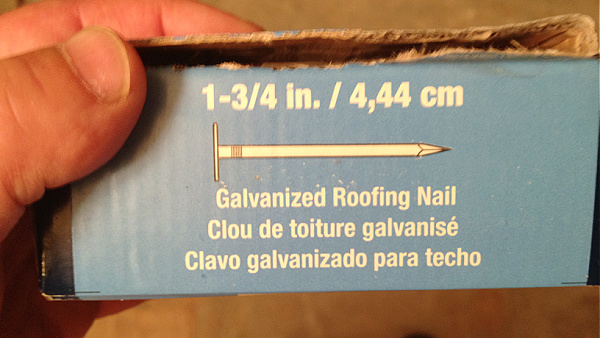
Anywhere there was a stud we hammered a 1-3/4″ galvanized roofing nail such that the head secured the lip of the tub.

The instructions from American Standard have a schematic showing drywall screws being used to secure the tub.
I don’t recommend using drywall screws because they aren’t very strong.
If you decide to use screws, use galvanized screws with washers.
Use the washer to pinch the tub lip tight against the tub lip and stud.
Why We Love Americast Bathtubs
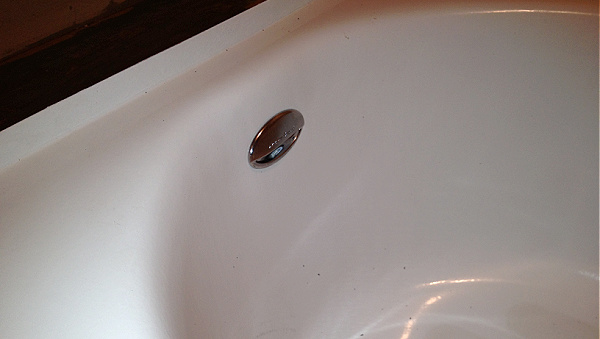
All bathtubs have an overflow inside of them.
These overflows prevent water from overflowing the tub if you forget to turn the water off.
Most of the time, though, the overflow needs a pipe attached to it that runs vertically downward to the bathtub waste pipe.
The more pipes you have the more opportunities there are for water leaks.
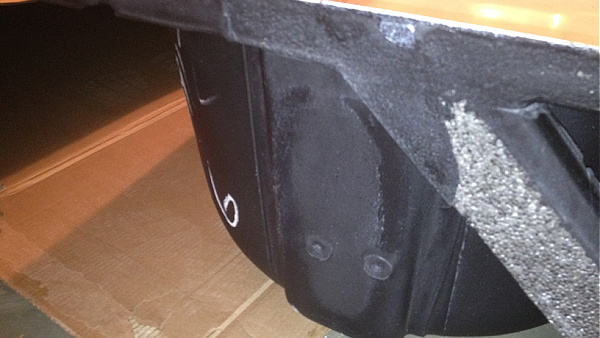
The Americast tub eliminates the vertical overflow pipe by integrating it directly into the tub.
Here’s the inside of the tub,
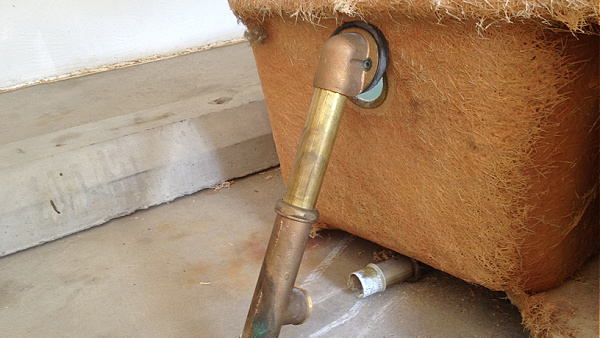
And here’s the outside – notice there’s no vertical pipe because it’s integrated into the tub,
Thus, you don’t have to worry about installing the overflow pipe and contending with future water leaks.
Overall, I’d say you should consider the American Standard Americast for your bathroom remodel.
Read the reviews and weigh the pros and cons of a good acrylic or fiberglass tub.
What’s Next
I hope this tutorial helps you with your bathroom remodeling project.
If you’re doing a bathroom remodel and need help, join Platinum Membership – the detailed video tutorials and personal coaching will definitely make your project easier.
Tap the button below to learn more
Let me know if you have any questions and I’ll do my best to help.
Cheers,
Jeff
