I hate soggy seat cushions.
Lately we’ve been getting biblical rainfalls in Pittsburgh.
Yes, we’re fortunate but we’ve also had flooding.
So I decided to do something about it, not the flooding (I’m not Al Roker).
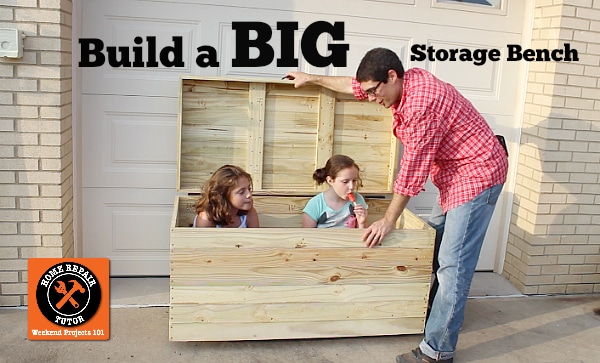
This past weekend I built an awesome outdoor storage bench.
It’s HUGE and could serve as an Ark for several guinea pig families or two grade school kids.
Yes I’ve got some funny video clips so don’t miss out on this project because it’s not hard to build and a fantastic storage solution.
Getting Started with a Big Storage Bench
Even if you don’t have seat cushions this storage bench is incredible for toys, tools, and serves double duty as seating.
You don’t have to be a carpentry guru to build it either. I’m not!!
Plus, I’m offering a cool tool giveaway at the end of this post. Who doesn’t love tools?
Here’s the supply list for the storage bench
- Kreg Jig ($40) http://amzn.to/2qAUfhj
- Circular Saw (FREE or Borrow or $50) http://amzn.to/2rz2Zlb
- Drill or Driver (FREE or Borrow or $50) http://amzn.to/2qZxrbX
- Drill Bits (FREE or Borrow or $15) http://amzn.to/2q0mWB9
- Rafter Square ($9) http://amzn.to/2rlNcJX
- Hammer or Rubber Mallet (FREE or Borrow 0r $10) http://amzn.to/2qAXBAF
- Extension Cord (FREE or Borrow or $15) http://amzn.to/2q0s0VT
- Pencil (FREE)
- Exterior Screws, 2 inches ($8 per pack) http://amzn.to/2rlK5Sr
- Kreg Screws (1 1/2 inches, Coarse threads)($4 per pack) http://amzn.to/2rloY2w
- 2 x 4 Foot Plywood (3/4 inch thick) ($19)
- 1 x 4 x 8 Foot Lumber (about 18 pieces) ($3 each)
- 2 x 4 (6 feet) ($2)
- Titebond III Wood Glue ($7) http://amzn.to/2qASFfs
- Respirator ($5)
- Hearing Protection ($5 for plugs)
- Flex Seal ($9)
- Hinges ($4 each)
- Chain ($4)
- Screws for Chain ($2)
- Casters ($6 each)
- Coupling Nuts ($6)
Yes, this is a bigger supply list than usual.
But you can definitely borrow a lot of the tools. Just be a nice friend and get a replacement saw blade if you use your compatriot’s circular saw.
I’m stoked to show you this storage bench.
There’s no doubt it’s hefty and kicks some major butt.
Simple Math and One Saw!
I don’t own a truck.
It looks funny hauling 1 x 4 x 8 pieces of wood in the back of a car.
But you can do it.
Maybe measure to make sure it’s physically possible, lol.
Since my storage bench is specifically for our seat cushions I measured the total height of all cushions.
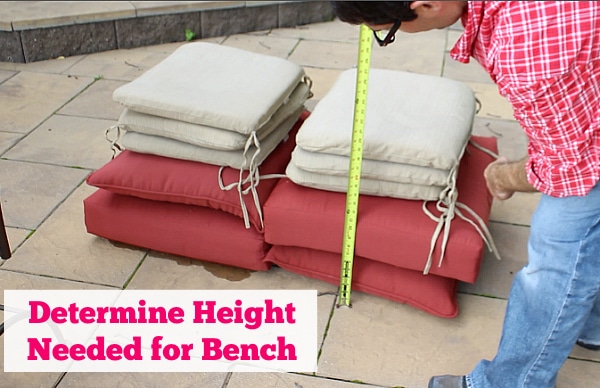
You should determine how high you want the bench to sit. Keep in mind that most outdoor chairs are 20-22 inches high, so it might be a good idea to keep the bench around this height.
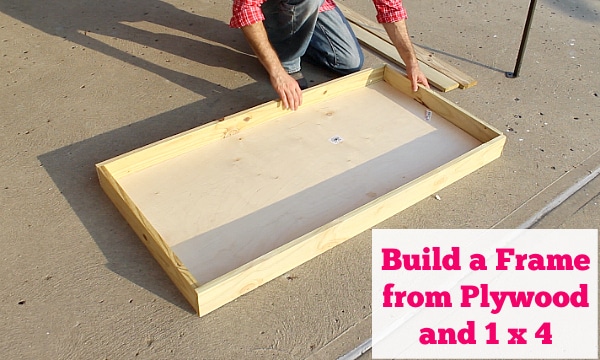
The first step you need to take is to make a frame from the plywood and 1 x 4.
Lay the plywood flat and measure its length & width. Cut pieces of 1 x4 so that the front pieces overlap the side pieces (don’t worry I explain this in the video tutorial).
Apply a bead of Titebond III wood glue to the short sides of the plywood. Then drill two holes on both the left and right side. This prevents the 1 x4 from splitting.
Attach the 1 x 4 to the plywood using 2 inch outdoor wood screws.
Now you can do the same thing for the front pieces of 1 x 4 and your base frame is complete.
Since the storage bench is going to weigh a ton I decided to add four casters.
Turn the base frame upside down and measure 3 1/2 inches over from the left and right side.
Add a 2 x 4 to both the left and right side using 2 inch outdoor screws.
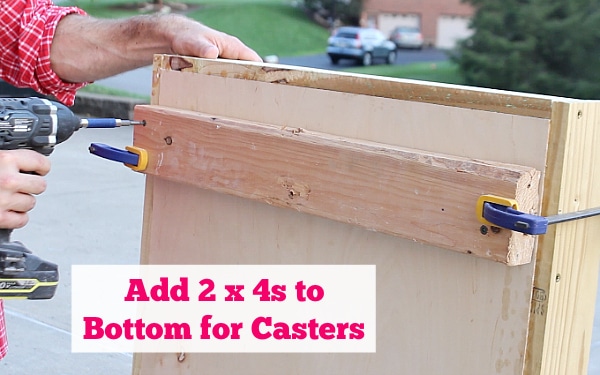
It should be the same width as the plywood because you’re going to add a skirt around the bottom of the base frame (again, this is all explained in the video :))
And you’ll use a sensational tool to accomplish this!!!
Use the Kreg Jig – Make Life Easy
Skirts hide legs.
But in our case the skirt hides casters, because unlike legs most people don’t like seeing casters.
Did you know George Clooney was voted sexiest legs in 2002? Just a side note.
You’re going to use a Kreg Jig to attach the skirt.
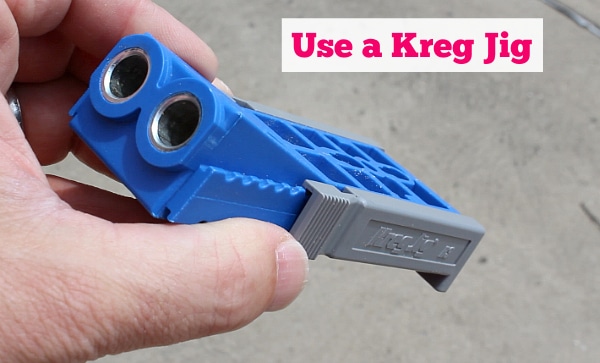
If you’re like me you might be a bit frightened by the word Jig. In my mind it implies some magical carpentry skill that I have no idea how to manage.
But don’t worry. By the end of this you’ll love the Kreg Jig. I promise.
Set the Kreg Jig and it’s drill bit to 3/4 inch depth because we’re working with 3/4 inch 1 x 4 lumber.
Cut four more pieces of 1 x 4 lumber that match the dimension of the base frame.
Measure 2 inches in from the edge of the short pieces of 1 x 4.
Clamp your Kreg Jig to the 1 x 4 and drill two pocket holes using your drill and the Kreg drill bit.
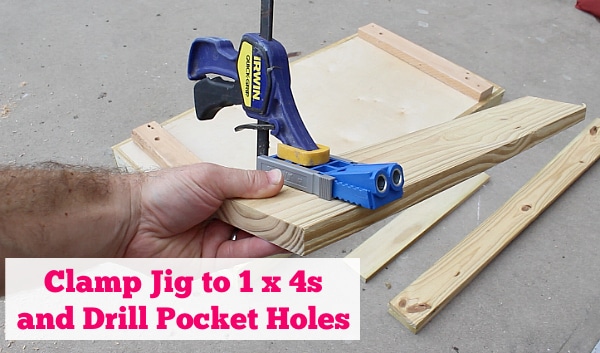
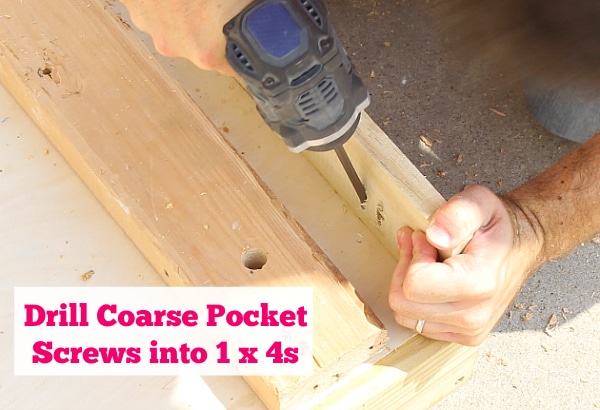
Attach the short pieces of 1 x 4 to the bottom of the frame using 1 1/2 inch coarse pocket screws.
Do the exact same thing to the front and back pieces of 1 x 4. And add two extra pocket holes in the middle for more support.
Add two screws to the face of the long 1 x 4’s left and right side. These are the only face screws and they attach the long and short 1 x 4s.
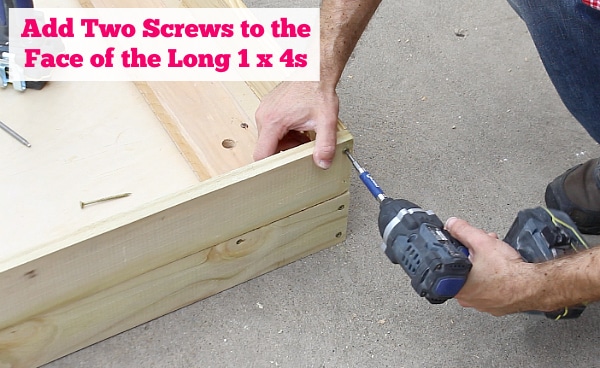
Your skirt is done!!
The best part is the faces of the 1 x 4 look clean without a ton of screws showing. They’re all hidden because of the pocket holes.
Use the exact same method to build up the sides of your storage bench.
I needed 7 rows of 1 x 4. You might need less.
Either way it’s not hard to build. using the Kreg Jig. Yes, it takes some time but is truly simple.
Watch my video to see the entire step-by-step process.
My goober daughters make a few appearances and show you just how big the storage bench can be 🙂
What’s Next
If you liked this project you’ll love seeing how we built a rustic cooler – it’s awesome!
If you’re doing a bathroom remodel and need help, join one of our online courses – they’ll make your bathroom renovation much easier!
Let me know if you have any questions and I’ll do my best to help.
Thanks as always for reading, watching, and being part of our awesome community.
Cheers,
Jeff


