
How can you remove silicone caulk without the use of a chemical caulk remover?
This was the question on my mind since the caulk between our kitchen countertops and tile backsplash had more separations than Liz Taylor.
The last thing you want is to ruin an expensive countertop just to remove $5 worth of silicone caulk.
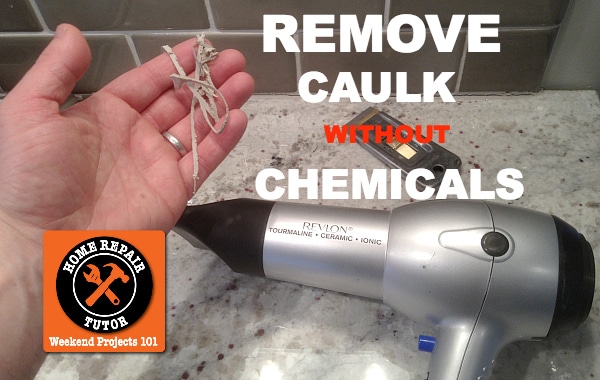
Here’s my solution: use a hairdryer and straight razor.
This idea couldn’t have worked any better and that’s why I’m sharing it with you.
Here are the supplies you need:
- Hairdryer (for real, just a normal hairdryer)
- Razor Scraper
- Cleaning gloves
- Clorox bleach
- Cleaning bucket
- Homax Caulk Tool
- Bowl to collect the old caulk
- These Amazon links help support HRT…Gracias
The only thing that’s missing is a hairspray bottle and flat-iron (queue commercial for Paul Mitchell).
You’ll discover this project is somewhat cathartic and way better than removing grout, which I admit is a b@$&! (In case you need that tutorial click on this link).
This post is super short, so don’t even bother with the popcorn or Junior Mints to view my video.
Let’s get started!
Remove silicone caulk with your hairdryer
Here’s the disclaimer for this post, if your silicone caulk is sandwiched between two pieces of plastic (for example an acrylic tub and shower insert) be SUPER careful not to ruin them. By ruin I mean melt them like Laffy taffy.
The Revlon hair dryer I used reached a maximum temperature of roughly 212F. Yes, I’m a geek and measured the heat output with a thermometer (which by the way, for anyone here in the states, provided temperature readouts in Celsius. In case you’re wondering the conversion to Fahrenheit is 9/5C +32)
I sincerely doubt this temperature will ruin a plastic tub or shower but be very careful nonetheless.
Since the silicone caulk in this example was between our backsplash tile and countertop I wasn’t too worried about high heat damaging anything.
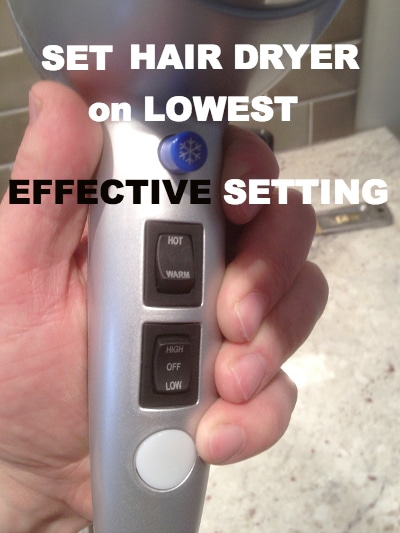
For this project, it’s best to use the lowest effective dose of heat. By this I mean you should try the lowest setting on the hairdryer that will help remove the silicone caulk.
Ultimately I had to use the Hot and High settings.
Heat up 8-10 inches of silicone caulk for 30-40 seconds then use a razor blade to slice through it.
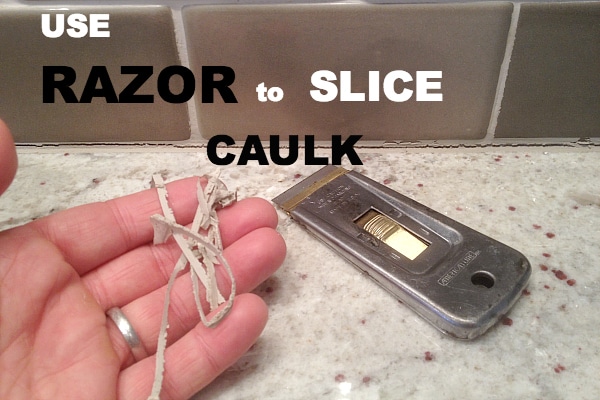
Make sure to remove all of the caulk because the new silicone won’t adhere properly to gunkafied surfaces (gunkafied isn’t a word but you get my drift, leftover silicone caulk is a no no).
Here’s a short video showing you how to do this step.
There are other tools you can use to remove silicone caulk.
One of them is the Homax plastic caulk removal tool. This is a nice tool for beginner DIYers because it has an angled tip to remove silicone caulk from corners. It also has a flat surface that can scrape caulk without scratching tile, bathtubs, or shower surrounds.

You can buy this tool at Home Depot.
How to Remove Moldy Silicone Caulk Residue
If your caulk was moldy and you’re concerned about spores being left behind you can do the following:
- Pre-wash the previously caulked surface with warm water
- Add 3/4 cup of Clorox bleach to 1 gallon of warm water
- Use a sponge to wash the suspected moldy surface with the Clorox solution
- Let the Clorox stand on the surface for 5 minutes
- Rinse with warm water and let the area air dry
Yes, the title to this post said “without Chemicals” but that’s if you only need to remove silicone caulk.
Mold is an entirely different issue and warrants something like Clorox bleach. In case the fumes bother you please use a respirator!
If you already have a hairdryer and straight razor blade this project will cost you nothing but your time & some patience.
WARNING FOR MALE DIYers
Guys, please ask your wife or girlfriend for permission before using their hair dryer.
I’m saving you grief and a trip to the flower shop (not to mention, but I am anyway, being locked out of the bedroom-this is a nice way of saying you won’t be getting any you know what).
What’s Next
If you’re looking for more bathroom tips check out these tutorials
How to Clean Stinky Sink Drains
The Best Way to Clean Grout – EVER!!
If you’re doing a bathroom remodel and need help, join one of our online courses – they’ll make your bathroom renovation much easier!
Let me know if you have any questions and I’ll do my best to help.
Thanks as always for reading, watching, and being part of our awesome community.
Cheers,
Jeff
