
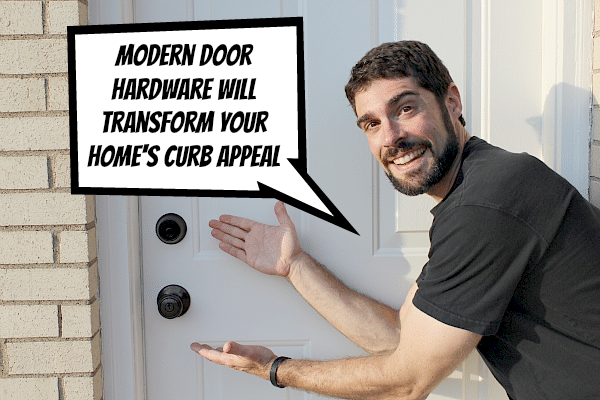
Repainting hinges & door knobs can be a creative way to save some money and customize the look of your doors.
And even though it’s way easier to just buy new stuff at the store I wanted to experiment and see if I could paint our existing hardware instead.
I had leftover oil rubbed bronze spray paint from a prior project anyway and wanted to use it up versus going it to waste.
Depending on how many hinges or door handles you have, this project could take between 1-2 hours and shouldn’t cost more than $33 total.
Admittedly that’s if you already have a random orbital sander (which typically run anywhere from $30 on up). But, I highly recommend you get a random orbital sander because it will make your DIY experiences way more pleasant. Especially if you’re planning on doing other painting projects.
Let’s dive in!
Door Hardware Supplies
New oil-rubbed bronze hinges will run you anywhere from $3 to $15 each. And simple-looking exterior oil-rubbed bronze doorknobs can be found for $21 to $61.
But I’ve seen them for as much as $199, which will definitely leave your wallet a bit bruised. So this project could definitely be a spectacular way to upgrade door hardware on a budget.
Here’s the supply list for this quick transformational project:
- Random orbital sander
- 60 grit sanding pad
- Rust-Oleum Primer (Gray Spray Paint)
- Rust-Oleum Metallic Copper (Spray Paint)
- Rust-Oleum Metallic Oil Rubbed Bronze (Spray Paint)
- Rust-Oleum Clear Coat
- Styrofoam board (Free)
- Scrap piece of wood or drop cloth (Free)
- Old towel (Free)
You can be a beginner DIYer and still get exceptional finishes by spray painting. But there’s only one way to find out, so let’s get started!!
Sand Your Hardware…the QUICK Way
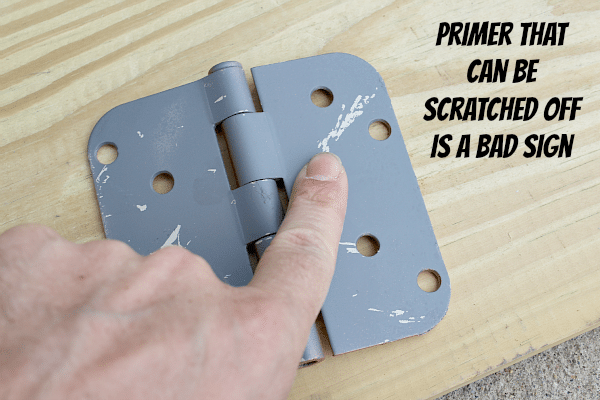
My first iteration of this project was a failure because I didn’t sand down the hinges. I don’t want you to experience the same sinking feeling.
As you can see, the primer didn’t stick to the hinge. I could scratch it off with my fingernail.
So I grabbed a 60 grit sanding pad, stuck it on my random orbital sander, and removed the finish on the entire hinge.
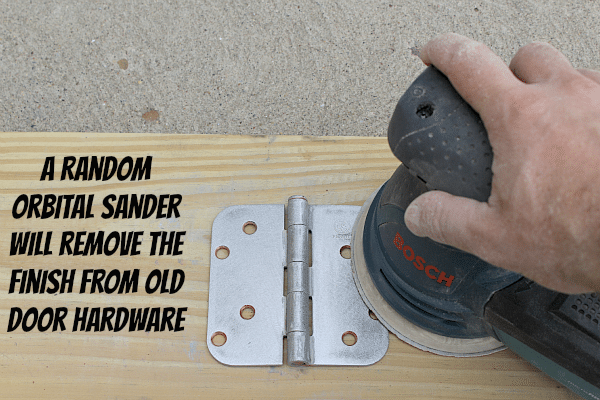
This quick process took all of 5 minutes. If you have a scrap piece of wood (like a 2 x 6 or sheet of plywood) lay the hinge on it and then go to town with the sander.
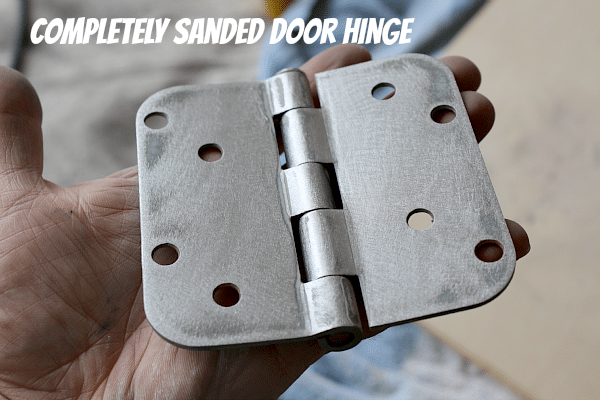
Let the sander do all the work, you shouldn’t have to apply much pressure with your hand. Here’s what a completely sanded hinge looks like.
Prime and Paint Your Hardware
Next, I primed the hinge and let it sit for 10 minutes. Then I turned it over and primed the opposite side.
I used Rust-Oleum Ultra Cover gray primer because it tends to work a bit better than its white counterpart (don’t ask me why maybe I’m full of it).
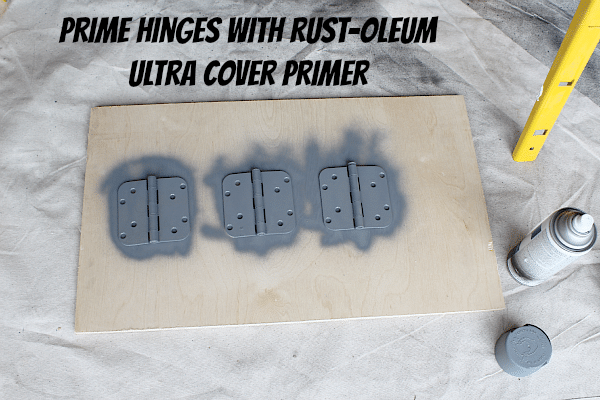
Place a drop cloth and piece of wood under the hinges to protect the surrounding area from the spray paint, otherwise, you’ll be explaining to someone why your driveway has paint on it.
Yes, I almost had to do the walk of shame and tell my wife I’m a bonehead (although she already is aware of this character defect).
Hinges take a beating because doors are used over and over. For this reason, I decided to add a copper paint coating on top of the primer so that when the hinge gets scratched the copper will show instead of the gray primer.
Note that this paint job isn’t exactly perfect but that’s okay since it’s not the final topcoat that everyone and their mother will see.
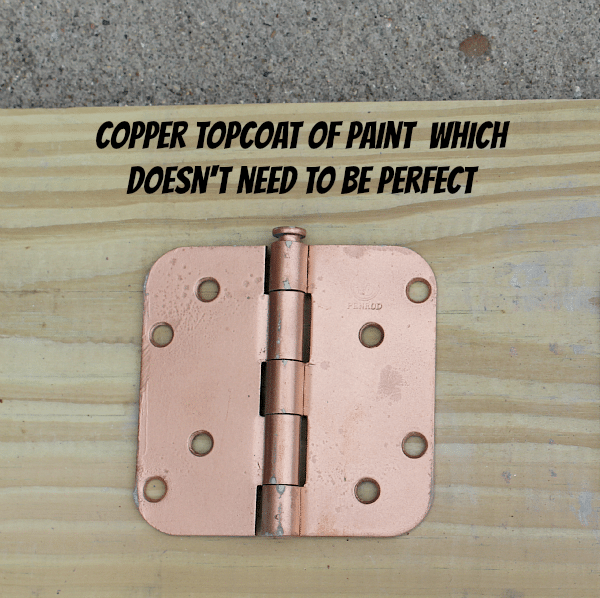
Again, I used Rust-Oleum and chose their Copper Metallic spray paint. Amazingly, the copper coat took only 15 minutes to dry. But then again the temperature was 90F on this day in Pittsburgh.
Drying times will definitely differ depending on the temperature and humidity on the day you do this project. If the hinges are tacky when you touch them just wait a few extra minutes. They should be dry to the touch before applying the second coat of paint.
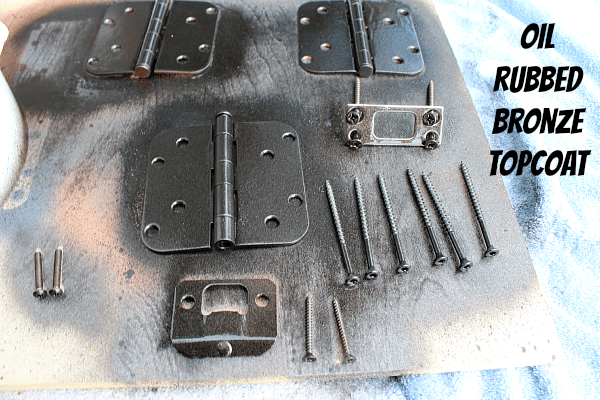
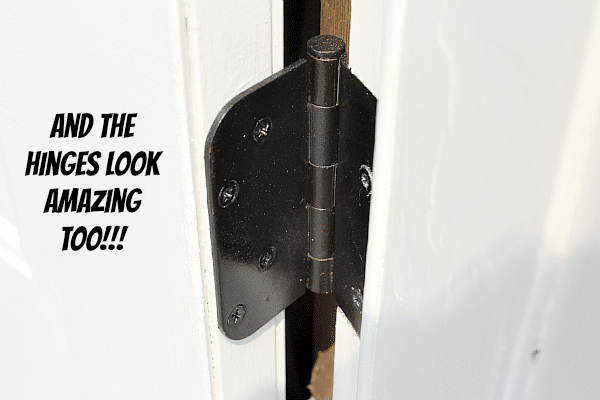
The final topcoat was done with Rust-Oleum’s Metallic Oil Rubbed Bronze. Before applying this coating I laid out all the hardware that would be used along with the hinges. This included hinge pins, screws, lock-sets, and strike plates.
Before you paint your deadbolt and door handle I highly recommend getting a sturdy piece of styrofoam. You can stick both the deadbolt & door handle through the styrofoam and prop them against a bucket. This makes the painting process seamless and easy.
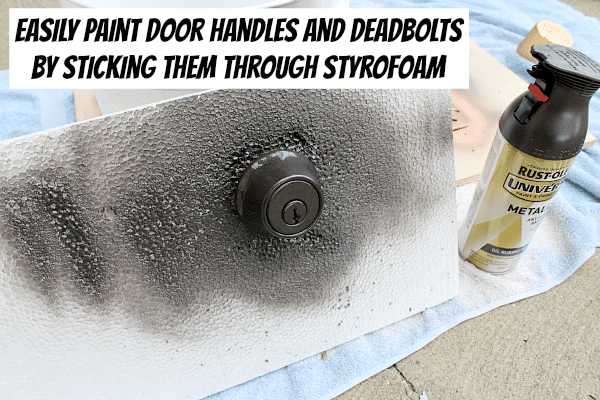
You can paint both sides of the hardware within seconds and save a ton of time. One word of caution, when spray painting deadbolts or door handles use very light coats of paint.
Otherwise, you’ll get drips. And of course, you should sand down the hardware as much as possible before priming and painting. Sanding is SUPER IMPORTANT for a great-looking paint job.
One Last Important Step
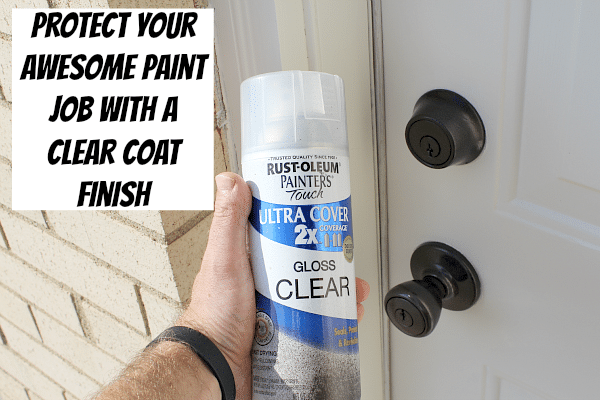
One last thing, if you’d like to make this paint job last longer then add a clear coat. I’ve gotten great results using Rust-Oleum’s gloss clear coat.
By great, I mean the finished paint job looks seamless and resists the test of sun, water, and wind effects.
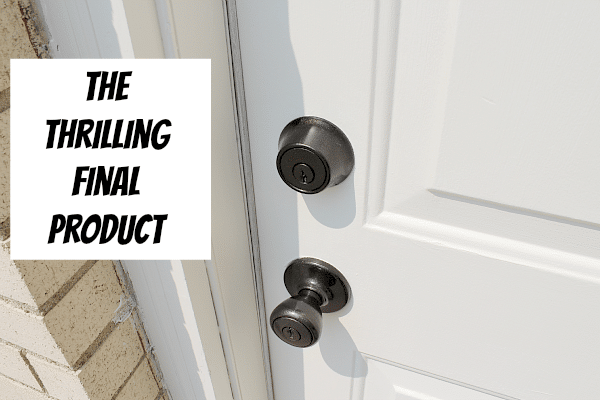
Yeah, I might be crazy for painting my door hardware instead of going out and buying all new stuff. But this is one of those cool experiments that I like doing just to see if it’ll work.
I’m thrilled with the final product and the door definitely looks more modern.
What’s Next
Painting an exterior door can also add plenty of curb appeal. It might take one day but will last years.
If you’re doing a bathroom remodel and need help, join one of our online courses – they’ll make your bathroom renovation much easier!
Let me know if you have any questions and I’ll do my best to help.
Thanks as always for reading, watching, and being part of our awesome community.
Cheers,
Jeff
