

Today you’ll learn how to install the Levition humidity sensor.
Does your bathroom get humid?
Nobody likes feeling sticky first thing in the morning.
Not even that kid from Willy Wonka.
What was his name? Oh yah, Augustus Gloop.
Today we’ll show you how to end the madness in your bathroom using one device.
You’ll see how to install it in less than 5 minutes,
Getting Started
My buddy Bill White, who’s a registered electrician, walks you step-by-step through this process.
His charge for something like this is roughly $120.
So this is a great tutorial. Plus, we’re giving away a few humidity sensors.
Holy mackerel!! This is gonna be a good tutorial.
The best way to stop humidity is to have a bathroom fan.
But who turns it off?
If you’re like me and have kids, nobody turns it off until you do.
KIDS.
Here are the supplies you need
- Leviton Humidity Sensor
- Insulated Screwdrivers
- Voltage Tester
- These Amazon links help support Home Repair Tutor, many thanks for using them
Leviton’s humidity sensor and fan control solves this problem.
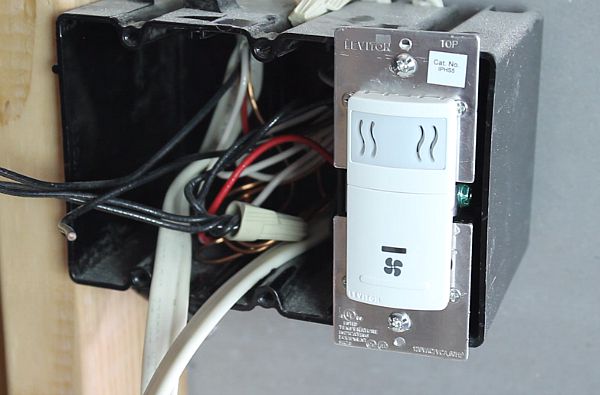
It senses the humidity level in the bathroom and automatically turns off after the moisture dissipates.
The sensor saves electricity and keeps your bathroom mold free.
We’re gonna show you how to install Leviton’s humidity sensor.
You’ll be surprised with the easiness of this project.
How to Wire the Leviton Humidity Sensor (see an electrician in action)
The first step is to turn off the electricity.
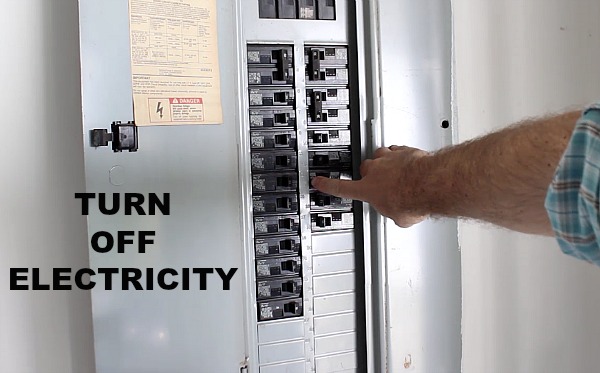
Do this at your panel or fuse box.
Then remove the existing bathroom fan switch.
Before you remove any wires take a picture.
It’s nice to have a reference, especially if you mess up…which I’ve done plenty of times.
Also, the humidity sensor NEEDS a neutral wire to work.
If you don’t have a neutral wire (which is typically white) you can’t use the humidity sensor.
It’s a good idea to check this before buying the sensor.
The back of the humidity sensor has 4 screws.
- Black connects to the power source
- Silver connects to the neutral wire.
- Purple connects to the load that carries electricity to the fan
- Green connects to the bare copper ground wire
Bill shows you step-by-step how to wire the humidity sensor in our video.
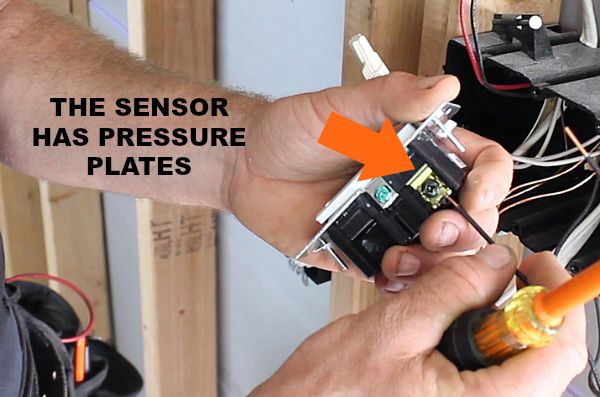
The sensor has pressure plates for installing the wires.
Thus, there’s no need to wrap wires around terminal screws.
You strip the insulation off the wire (about 1/2″) and slide it behind the pressure plate.
Then tighten the screw.
Yep, it’s easy.
Your wire is tight when it twists with the device.
Again, another great tip from Bill.
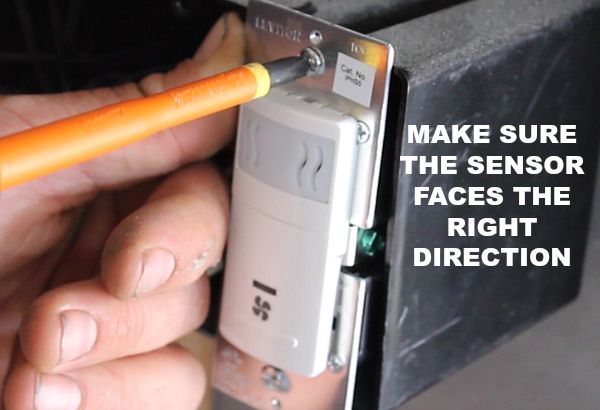
Also, make sure the humidity sensor faces the right direction.
“Top” is on the top of the device to indicate the proper installation.
After the sensor is wired you have to program it.
Don’t worry, this is simple to do.
Setting Up the Humidity Sensor (easier than programming your DVR)
Where can you use a humidity sensor?
Anywhere you have a humidity problem.
Bathrooms, basements, garages, you name it.
If you have an exhaust fan with a neutral wire you can use the sensor.
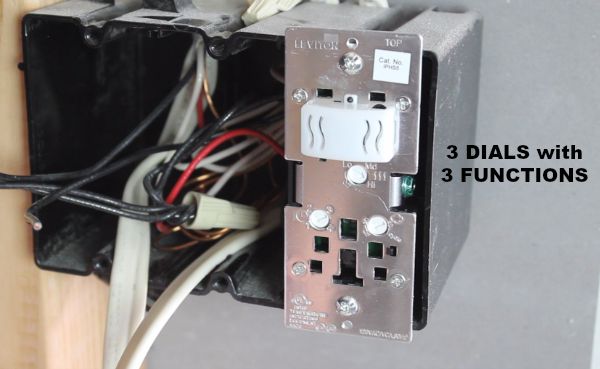
There are 3 dials on the Leviton humidity sensor/fan control.
Each one has its own function.
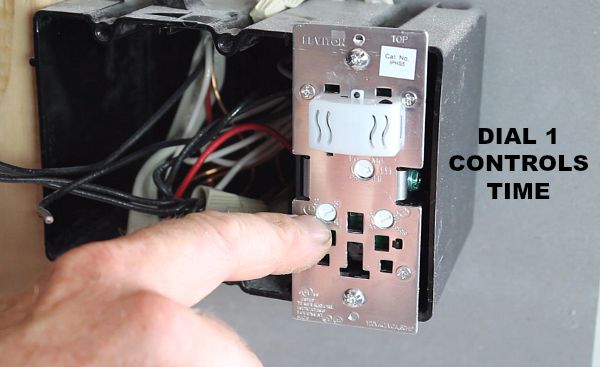
The first dial controls time.
When you press the sensor it will run based on this dial setting.
When the sensor is set to automatic mode it runs until all the humidity is removed.
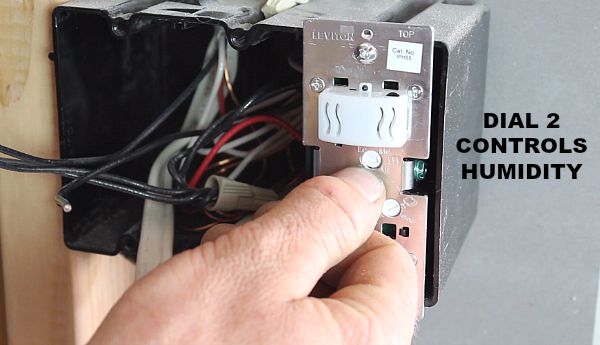
Dial 2 controls humidity sensitivity.
The more sensitive the setting the more the sensor will sense humidity.
Kinda self explanatory, lol.
You can set this to Lo, Medium, or High.
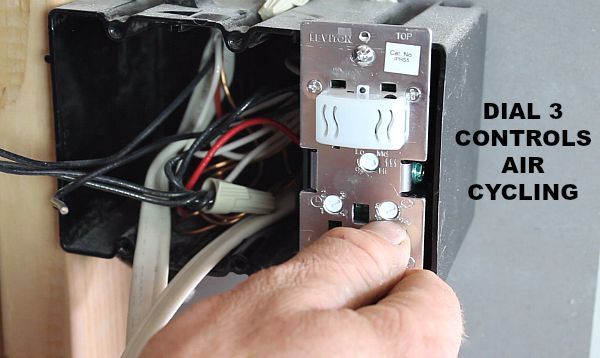
Dial 3 controls both humidity and air cycling.
What is air cycling?
No, it’s not you imitating Lance Armstrong while sitting on your couch.
Although I’d love to see that.
Air cycling allows the air to mix in the room to reduce humidity levels.
You can set the sensor to do this automatically once every hour.
For a complete detailed explanation of the Leviton humidity sensor watch Bill.
He also reveals how to save money if you have to hire an electrician.
Bill has Jedi electrical skills.
And he’s one of the nicest and smartest contractors I know.
If you’re in Pittsburgh lookup Bill White and Live Wire Service Group.
BUT he’s one of those guys that’s always busy — so good luck.
Plus I’m kidnapping him to do videos, haha.
What’s Next
We hope this tutorial helps you with your bathroom.
Don’t forget, bathrooms also require GFCI outlets by code. If you need a new one our step-by-step tutorial is super helpful.
If you’re doing a bathroom remodel and need help, join one of our online courses – they’ll make your bathroom renovation much easier!
Let me know if you have any questions and I’ll do my best to help.
Thanks as always for reading, watching, and leaving your comment.
Cheers,
Jeff
