
Do you have rusted, faded, and drab looking patio chairs?
Don’t let a little paint get in the way of having fun with friends.
I’ve made the mistake of thinking that repainting a metal chair will take forever and isn’t worth the time or effort.
But I’m here to tell you that if my wife thinks the chairs in this post look good then you will, too.
By the end of this short tutorial you’ll transform your chairs from looking worn out to AWESOME in 5 easy steps.
I did have a few blunders though, read on so you don’t make the same mistakes 😉
Metal Patio Chair Makeover Supply List
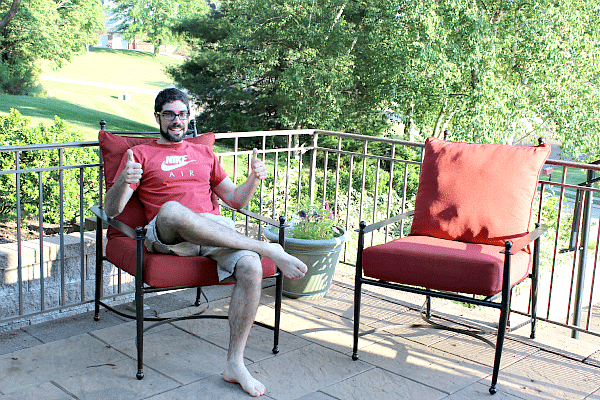
We’ve had the chairs in this tutorial for about 10 years. I think they’re a Martha Stewart special (pre-jail time, lol).
The chairs are made from metal and have plastic slats for the cushions.
I bet you’re just like me and hate spending a ton of money of outdoor furniture. If you’ve got metal patio chairs this is s great way to rejuvenate them in one day.
Here are the supplies you’ll need
- Wire brush with scraper ($14) http://amzn.to/2ryC8qn
- Random orbital sander ($56) http://amzn.to/2rySjUi
- 60, 120, 220 Grit sand paper for sander ($14) http://amzn.to/2qEEHHe
- Bucket, water, and sponge
- Drop cloth
- Rust Oleum Universal Paint & Primer (You choose the color-I chose oil rubbed bronze)
- Respirator
- Protective eyewear
This project will take you about two hours and it the end you’ll be super stoked with your chair’s makeover. So let’s get to it.
Prep Work Makes All the Difference
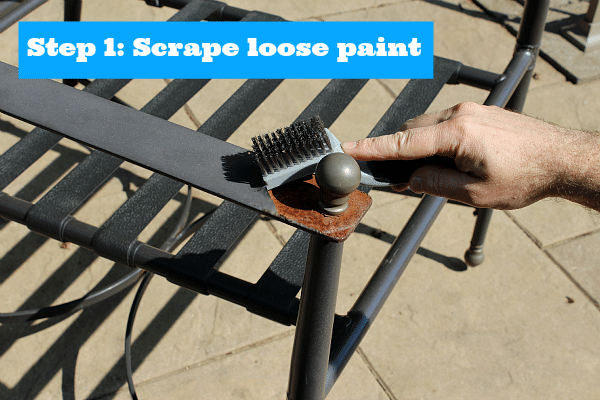
Thoroughly inspect your entire chair for peeling or cracked paint.
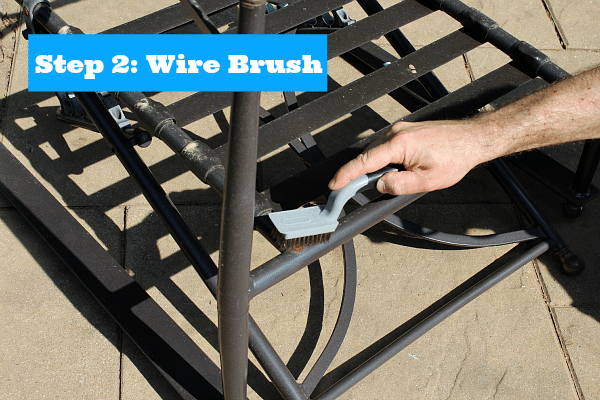
Step 1 is to scrape off loose paint and Step 2 involves using a wire brush to remove small chips and rust.
Wire brushing is the best option for rounded or oddly shaped areas. Both of these steps are super simple and shouldn’t take you more than 15 minutes. You don’t need to get all the paint off and completely smooth.
We had some rust spots where the paint wore away over the years. The chair arms were super rusty in certain spots and that’s where the random orbital sander came in handy.
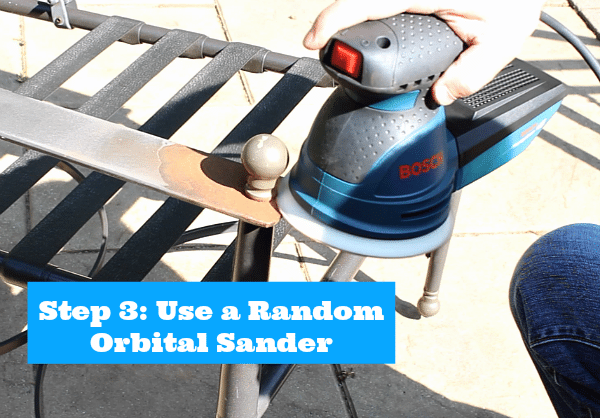
I’ve gotta say that Bosch makes kick-butt tools and this sander didn’t let me down.
The directions will clarify which kind of sand paper grit to use and what setting is best for your project. So, Step 3 involves using 60 grit paper first then 120 with the sander setting on 6.
One thing I learned was that you should place the sander on the surface before turning in on and move it without applying pressure. Let the sander do all the work.
The 60 grit took off all the remaining loose paint that couldn’t be removed by hand. And the 120 grit smoothed out the transition between the rust spot and the existing paint.
After using the sander you can then remove dust and dirt with a bucket of water (Step 4).
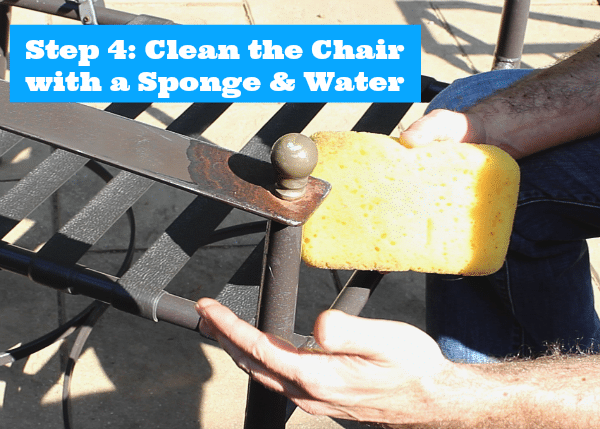
Let the chair completely air dry before moving onto Step 5, which is painting 🙂
Rust-Oleum Paint Has Never Let Me Down
I’ll tell you something about paint: Rust-Oleum should be on your short list because it’s never let me down.
What do I mean by this? The coverage is superior, it sticks to everything, and the finish is professional.
I decided to use Rust-Oleum Universal spray paint because it has primer in it, too.
This cuts WAY down on time spent painting, which comes in handy when you try to fit projects in over the weekend between kid’s activities.
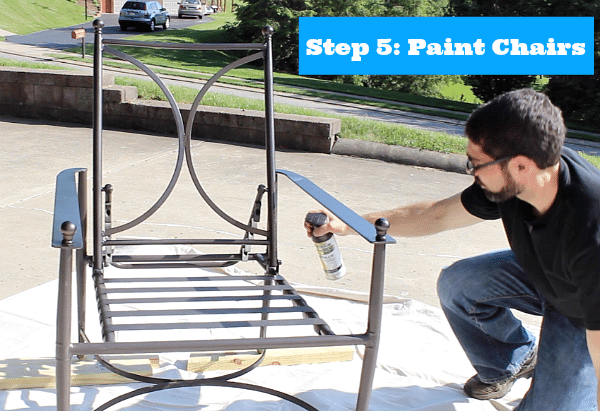
There is a method though to painting patio chairs, albeit debatable. I chose to paint the front of the chair from the top to the bottom first.
Then, I worked my way around the chair in a clockwise direction starting on the left hand side. I let the chair dry for 30 minutes.
At this point you can turn the chair upside down and paint the bottom.
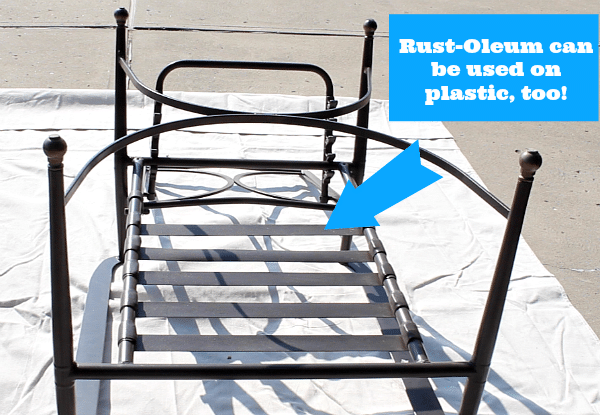
The cool part about Rust-Oleum’s Universal paint is that it can be sprayed on metal and plastic. This comes in handy for adjustable patio chairs like these ones.
The height adjustments on the chairs are plastic as are the slats that hold the cushions in place.
Check out my video tutorial to see how I painted the chairs in one day and got them looking like new.
Here are some tips to help you with your paint spraying:
- Shake the Rust Oleum can for about 30 seconds
- Hold the can 6-10 inches from the chair
- Smoothly move from left to right for horizontal sections and from top to bottom for vertical areas
- Let paint dry for 30 to 45 minutes before applying a subsequent coat
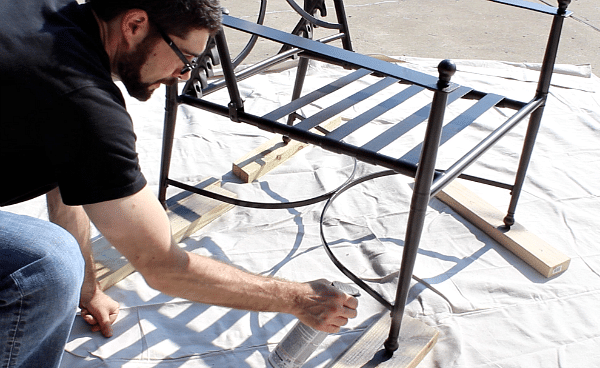
- Place the legs of the chairs on top of old pieces of wood
The last tip – using the old pieces of wood – will help you get an even paint job on the bottom portion of the chair’s legs. This is even more important if you have a drop cloth on top of concrete that you don’t want to ruin.
In the off chance the drop cloth isn’t full-proof the old pieces of wood will absorb the spray paint.
Oh, and make sure you keep the chairs away from the edge of the drop cloth. Why you ask?
Because the overspray will definitely get on your driveway. Yes, I’m thick-headed and for some reason didn’t think of this. Lesson learned. Thank goodness we have a power washer. Fortunately my wife didn’t notice. Otherwise I could have been in deep trouble.
After 24 hours you should be able to add cushions to your chairs and enjoy you’re favorite mixed drink.
What’s Next
Our other project showing how to build a rustic cooler is great for sprucing up your outdoor space.
If you’re doing a bathroom remodel and need help, join one of our online courses – they’ll make your bathroom renovation much easier!
Let me know if you have any questions and I’ll do my best to help.
Thanks as always for reading, watching, and being part of our awesome community.
Cheers,
Jeff
