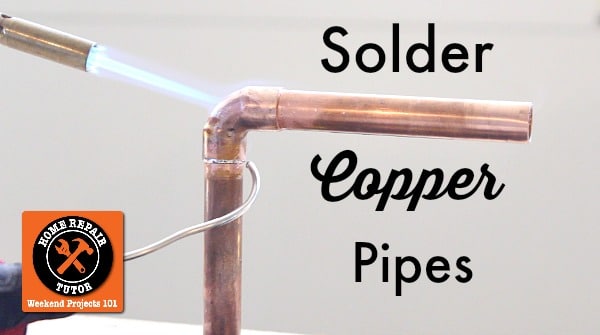
Burning your house to the ground…
Is this the first thing that comes to mind when you think of soldering copper pipe?
Maybe I’m the only one thinking this, lol.
The first time I had to solder a pipe was in a joist bay in our kitchen.
Our pipe sprung a pinhole leak and was slowly turning the ceiling into mush.
Soldering is surprisingly straight forward once you learn all the basics.
After reading or watching today’s tutorial I bet you’ll be able to solder copper in 1 hour or less.
These tools and supplies make soldering so much EASIER
- AutoCut Tube Cutter or
- Ridgid No. 15 Tube Cutter
- Wire Brush
- Emery Cloth
- Laco Flux
- Flux Brush
- Silvabrite Solder
- MAP-Pro Gas Torch Cylinder (It’s better than propane)
- Bernzomatic TS4000 Trigger Start Torch
- 1/2″ 90 Degree Elbows
- Flame Shield
- Gloves
- Safety Glasses
- Fire Extinguisher
- Lighter
- 1/2″ Copper Pipe
Learning how to solder copper pipe starts with cutting and prepping.
So let’s get started ;D
Cutting and Prepping Copper Pipe (it’s more fun than Legos)
There are many different tools used to cut copper pipe.
My two favorite tools are the AutoCut tube cutter and Ridgid No. 15.
AutoCut tools clamp onto the pipe and you simply turn them according to the arrow.
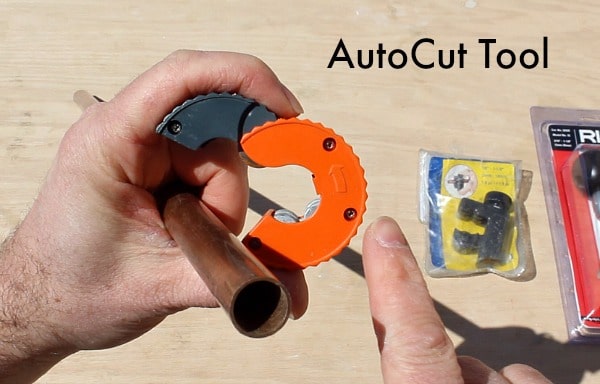
They don’t have a reamer to remove burrs. So you’ll have to do that with a separate reaming tool.
The Ridgid No. 15 (which I gave away in another tutorial) cuts copper pipe and has a reamer.
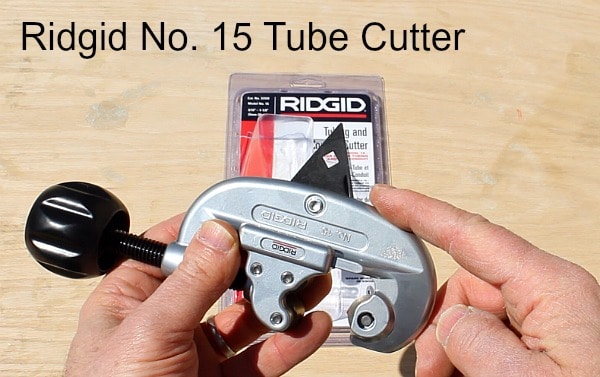
It’s great for pipes in open spaces while the AutoCut tool is superb for pipes in tight spots.
Always ream the inside of the copper pipe then clean it with a wire brush or emery cloth.
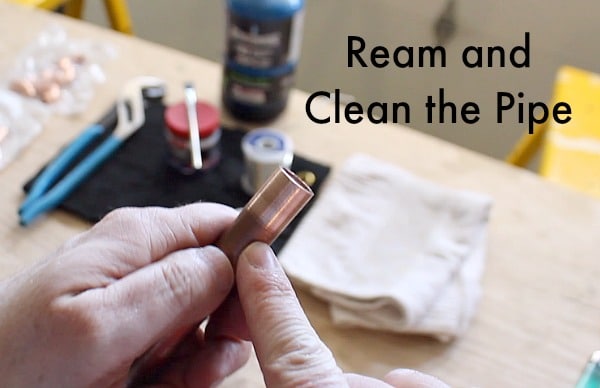
Blow out the pipe to make sure all copper bits are removed.
Never lay down the freshly cleaned pipe.
Dirt on the pipe will interfere with the solder.
Apply a thin layer of flux to the outside of the copper pipe.
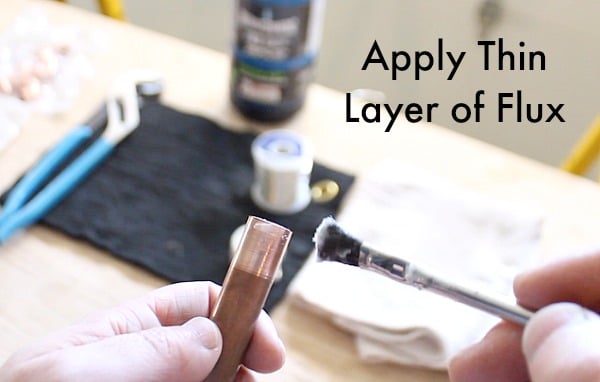
I say thin because you don’t want excess flux getting inside the pipe, this can lead to pitting and eventual pinhole leaks.
Wire brush the inside of any fitting and blow it out.
Again, apply a thin layer of flux to the inside of the fitting.
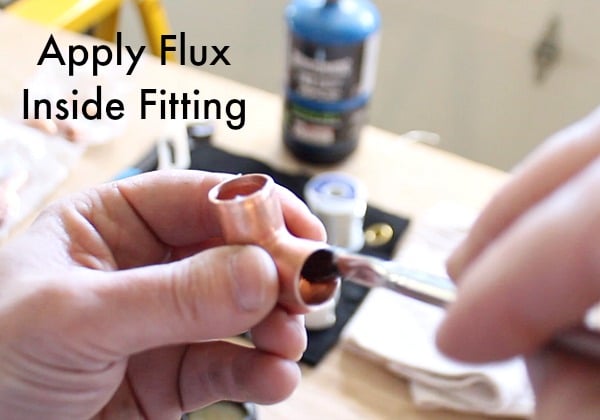
Put together the pipes and fittings.
Ensure the pipes are seated as much as possible inside your fittings.
Now you’re ready to begin soldering.
Woohoo, let the fun begin!!
Soldering Copper Pipe (playing with fire is always fun!)
Fire extinguishers are a must when soldering.
As much as I love playing with fire I still don’t want to burn down my house.
Flame shields will help prevent burning of drywall or studs but they can smolder.
If you see smoke coming from your stud bay spray it with water to prevent a fire.
Safety first!
Propane torches are affordable and good for any DIY soldering job.
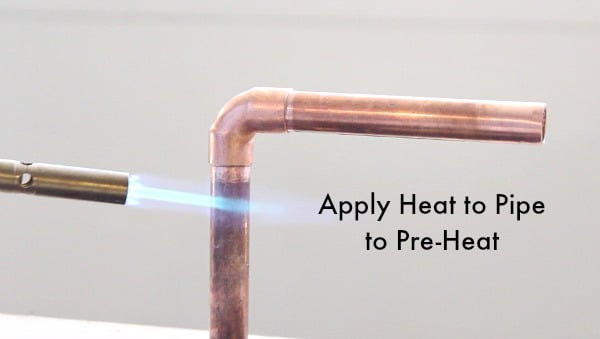
The blue cone is the hottest part of the flame.
Apply the cone to 1-2 inches of pipe behind the fitting. Heat this section of the pipe for about 10 seconds.
Then position the flame just behind the fitting’s cup.
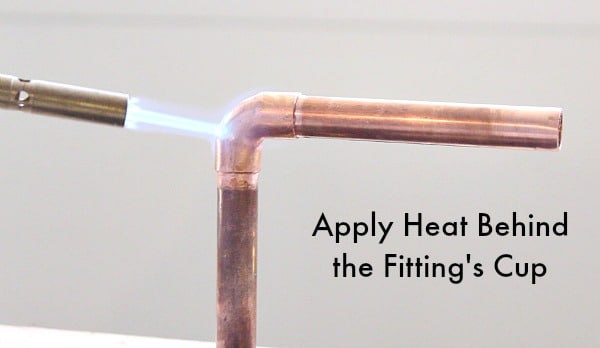
Move the flame back and forth to heat the entire area of the fitting.
While you do this constantly dab the fitting/pipe transition with solder.
It’s very easy to burn off the flux. D
Dabbing the the solder will ensure you use the least amount of heat necessary to solder your pipes.
Don’t worry, I show you how to do this in my video.
I really wanted the video to be packed full of awesome tips, so it’s a little long.
You’ll be up and soldering in about 1 hour 😀
What’s Next
My biggest tip is to practice, practice, practice. Seriously, a bag of 90 degree fittings costs only $4.
Buy a 2 foot section of copper pipe and attach 8-10 fittings and you’ll be very comfortable with soldering copper pipe.
If you still don’t want to solder copper, you can learn how can fix a pipe using these tips.
If you’re doing a bathroom remodel and need help, join one of our online courses – they’ll make your bathroom renovation much easier!
Let me know if you have any questions and I’ll do my best to help.
Thanks as always for reading, watching, and being part of our awesome community.
Cheers,
Jeff


