
Drywall repair can be a headache.
For me it’s the pain of waiting for the darn joint compound to dry.
I’ve got two active kids who play sports and attend more birthday parties than Ronald McDonald!
So I can’t be messing around with DIY projects all day (even though I could because of my HUGE to do list).
Last weekend I repaired a nail pop in our bathroom wall and I wanted to show you the 5 minute joint compound that made this a fast fix.
Nail Pop Supply List
We’ve been in our house for 7 years and this popped nail has been there for probably 8.
It’s like a pimple, annoying when you have to see it every day.
And unfortunately it won’t go away after using Clearasil zit cream, I only wish.
Repairing a nail pop is easy: you need to remove the old nail or screw and add a new one.
Here are all the supplies I used for this project
- Putty Knife ($3)
- 6 Inch Joint Compound Knife ($8)
- Drywall Screws (coarse threaded 1 5/8 inch long screw) ($4)
- Fiberglass Mesh Tape ($4)
- Sheetrock 5 Minute Joint Compound (Setting Type) ($6)
- Mud Pan for Joint Compound ($14)
- Fine Grit Sanding Sponge ($3)
- Kilz Primer ($8)
- Latex Paint (FREE)
- Paint Stirrer (FREE)
- Weenie Roller ($10)
- Paint Screen for 1 Gallon Paint Can ($4)
- Towel (FREE)
Before you begin any drywall project make sure you’ve got leftover paint that matches your wall.
I made the mistake of not doing this and having to match the color and sheen of our orange dining room after installing the Nest thermostat (check out that tutorial here).
My wife was not happy.
Lesson learned, right.
Let me show you how I fixed this nail pop in no time 🙂
How to Remove and Patch a Nail Pop
My 11 year old daughter could do this project, it’s that easy.
Of course she would refuse but that’s to expected from a pre-teen, haha.
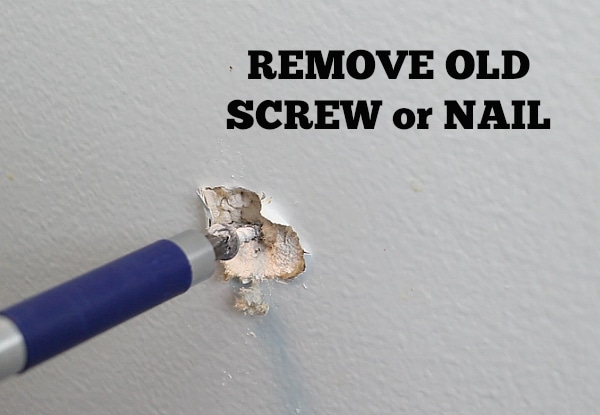
The first step is to locate the center of the popped nail or screw. You’ll need to do this so that you can remove it.
Dig through the joint compound using a putty knife.
Pull a popped nail using pliers or if you’ve got a drywall screw just back it out using a drill. Add a Phillips head bit to your drill and set it to turn counterclockwise.
In many cases the popped nail or screw was too short.
So a good fix is to add a new screw that’s longer.
I used a new coarse-threaded 1 5/8 inch drywall screw and placed it 1 1/2 inches above the location of of the old screw.
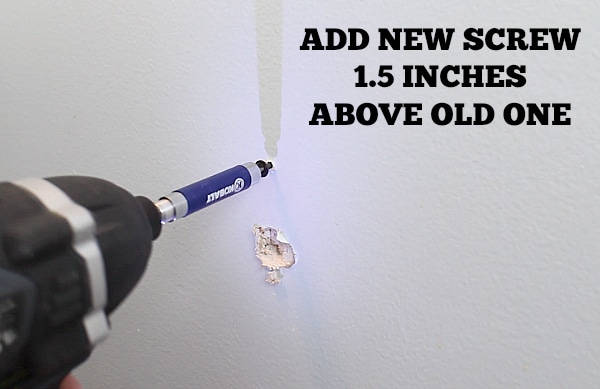
Wood studs require coarse-threaded drywall screws and metal studs need fine-threaded drywall screws.
This is a nuance of drywall work and nice to know 🙂
Tighten the new screw so that it barely makes a dimple in the drywall. The screw head should be slightly below the paper surface but not tear it.
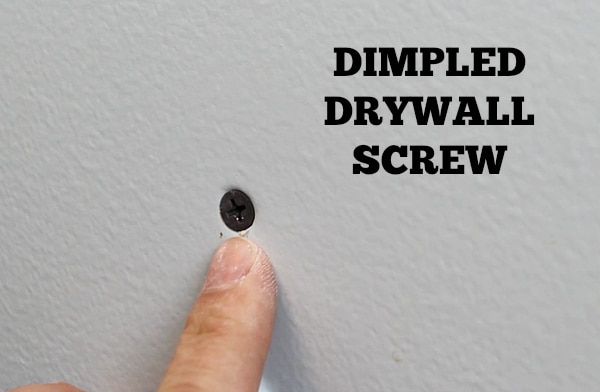
A slightly dimpled screw is easy to fill in with the 5 minute joint compound and sand down flush with the adjacent wall.
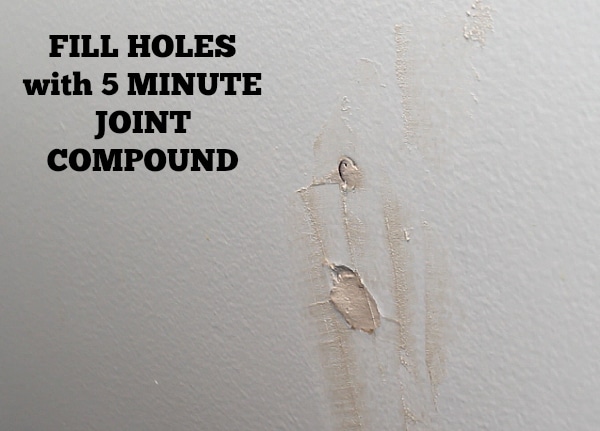
Frankly, you could do this then prime and paint your wall.
However, if your wall is slightly damaged from removing the old nail or screw you should apply mesh tape.
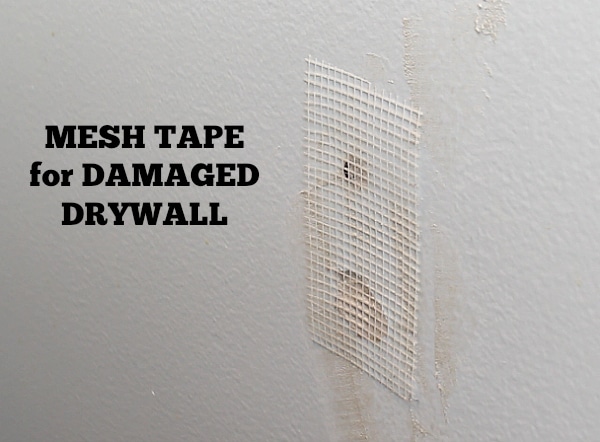
I like to smear a thin layer of compound over the holes in the drywall then add the mesh tape. One side of the tape will be sticky and this is the side that goes on the wall.
Use the remaining 5 minute joint compound to cover the mesh tape. This will be your first coat of joint compound and it doesn’t need to be super thick.
Let the joint compound dry then apply a second layer with your 6 inch knife. It should look something like the picture below.
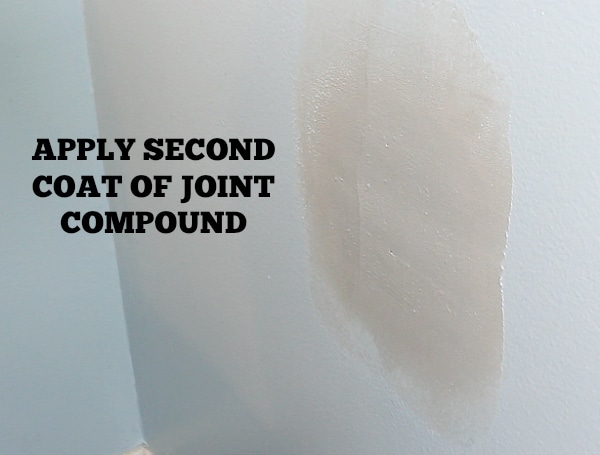
Allow this coat to dry and scrape off any joint compound ridges with your knife.
I like to use a sanding sponge for small jobs like this one.
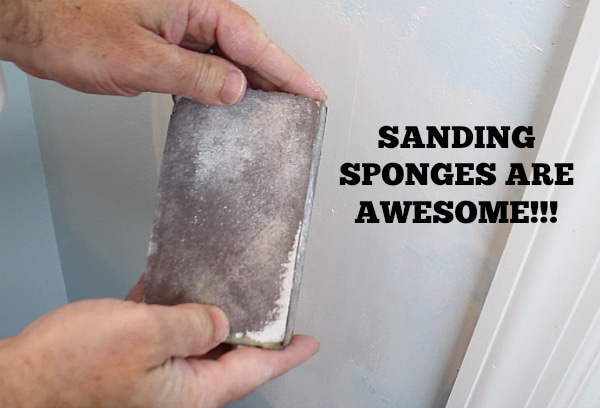
Primarily because they’re easy to use and if you want to cut down on the dust you can wet the sponge.
Sand your drywall patch in a circular motion to taper the edges.
Prime the patch using a good primer, Kilz is my preferred brand but there a ton of great options out there.
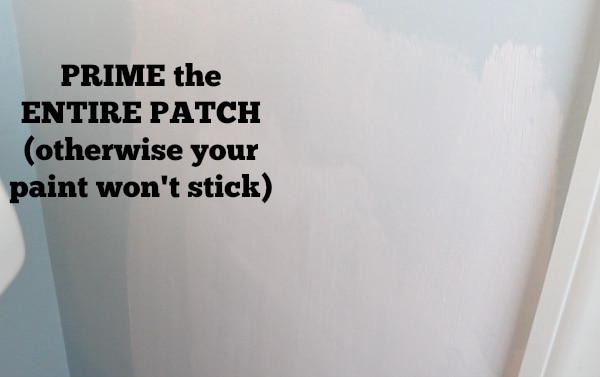
If you don’t prime the joint compound your latex paint won’t stick. This is super bad and not fun (unlike the movie Super Bad which is a funny story about friends getting into teenage shenanigans).
Check out my video to see how to make short order of a small drywall fix like a popped nail or screw. I added a little family video in the middle for some giggles. My daughters crack me up.
What’s Next
Nail pops and holes in sheetrock happen all the time. Now you have the skills to fix them.
Our tutorial on how to fix a large hole in the wall also comes in handy – and will save you some serious bucks!
If you’re doing a bathroom remodel and need help, join one of our online courses – they’ll make your bathroom renovation much easier!
Let me know if you have any questions and I’ll do my best to help.
Thanks as always for reading, watching, and being part of our awesome community.
Cheers,
Jeff
