
Window sash replacement: how do you do it?
This question came up recently because the glass in the lower sash of our double-hung window broke.
What I discovered is that home window replacement should begin by finding the manufacture’s sticker. Why? Because you could get a new sash or entire window for FREE!!
Plus, you’ll want to learn how to remove your window sash so that you can clean them without going outside.
Here are the supplies you’ll need for this SUPER quick project
- Duck tape ($5.00)
- Screwdriver ($3.00)
- Camera or Smartphone (Free)
- Window sash (Free depending on warranty)
The total cost for everything is $8.00 but this will also depend on whether your broken window sash is still under warranty. Window sash replacement takes all of 20 minutes depending on what you need to do. And I’ll give you a ton of helpful tips to make this easy as pie.
So let’s get to it 🙂
How to Get a Window Sash Replacement for FREE
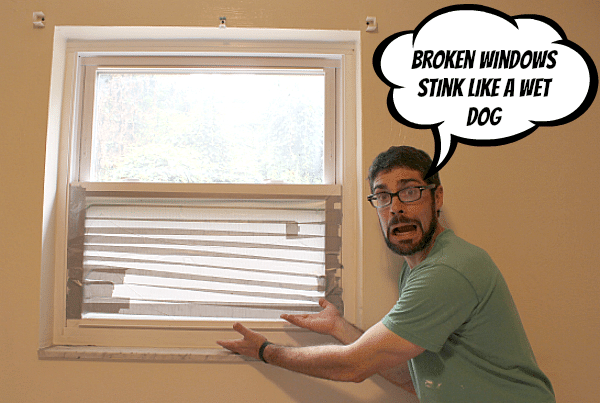
Broken window panes stink. Paying for a new double-hung window stinks even more (think wet dog smell, yuck).
You could possibly avoid a huge bill by finding the manufacturer’s sticker on your window.
It’s either on the side of the sash or somewhere on the window frame. In my case, it was on the sash and looked like this.
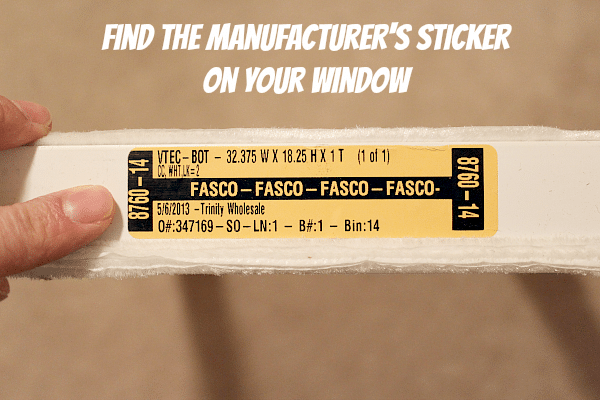
If you look closely you’ll see the date on the window (5/6/2013), the manufacturer (Trinity Wholesale), and dimensions of the sash (32.375 inches wide by 18.25 inches high).
Take a picture of the sticker then call the manufacturer to see if the sash is still under warranty. You might be saying, “Well, I didn’t install the window and have no clue who the manufacturer is?”.
Same here. Google the manufacturer’s name, find their phone number, call them, explain your window sash broke, and you’d like to know if it’s still under warranty. They’ll need some of the numbers from the sticker and should be able to help you.
To my surprise, our sash was still under warranty after 4 years (in case you’re wondering the sticker from the above photo is from the new window).
BINGO!!!
I just saved at least $200-$250 by making a phone call.
It took about 3 weeks to get the new sash but who cares when it cost nothing, right. Here’s another tip: take a picture of the sticker with your camera. You may have to physically give the sticker to the manufacturer and this way you’ll have a copy of it.
Home Window Sash Replacement: How to do It Safely and Easily
Home window sash replacement (bottom sash only in this case) is SUPER DOOPER EASY. If you scroll down a bit further I also include a step-by-step video with detailed instructions. I’m pretty confident I could walk my Mom through this with no problems.
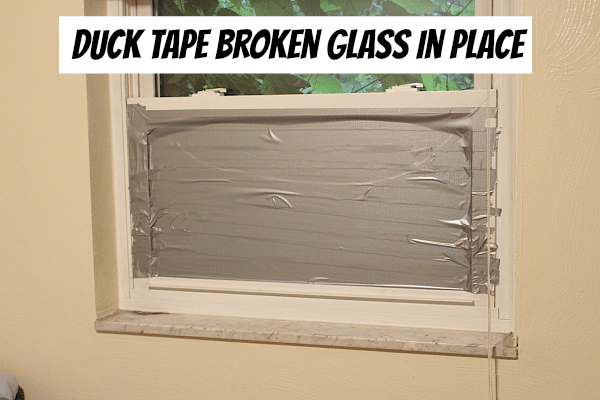
If you have a broken window pane use duck tape on both sides to hold the glass in place.
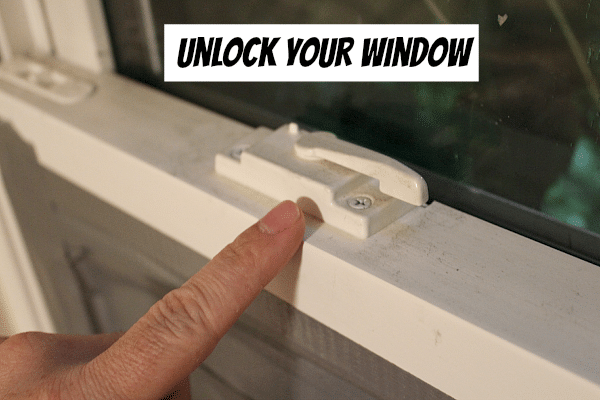
Unlock your window.
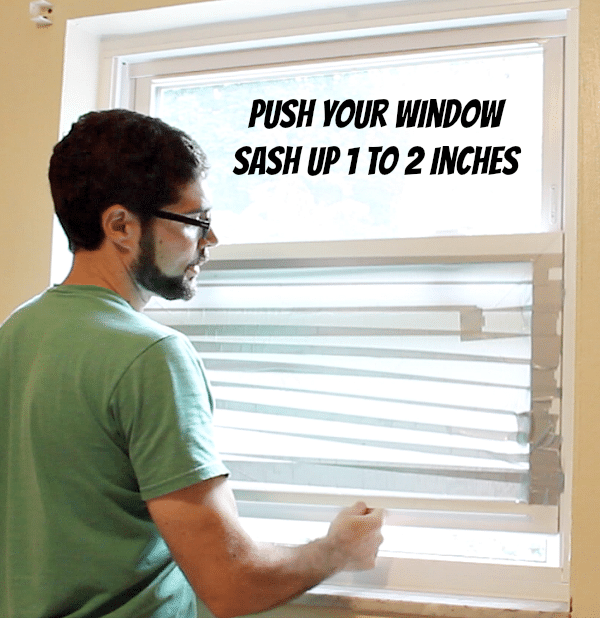
Push your window up about 1 to 2 inches.
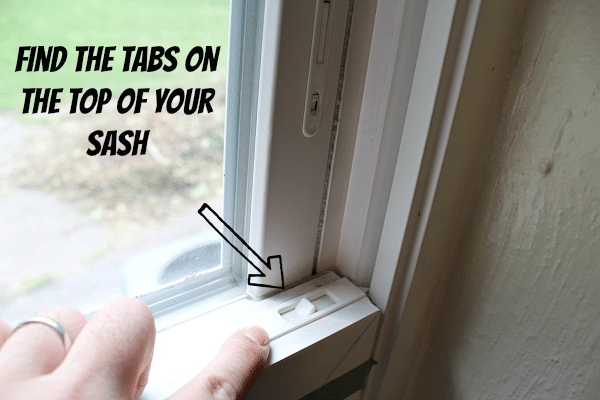
Find the tabs on the top of your sash.
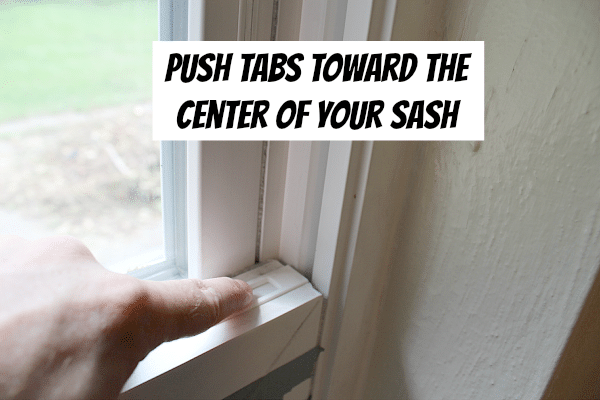
Push the tabs toward the center of your window sash.
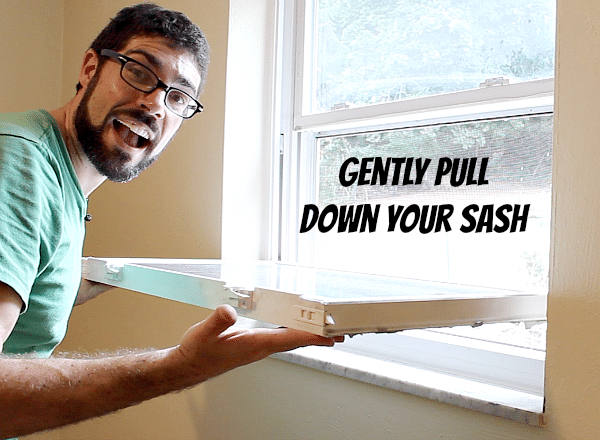
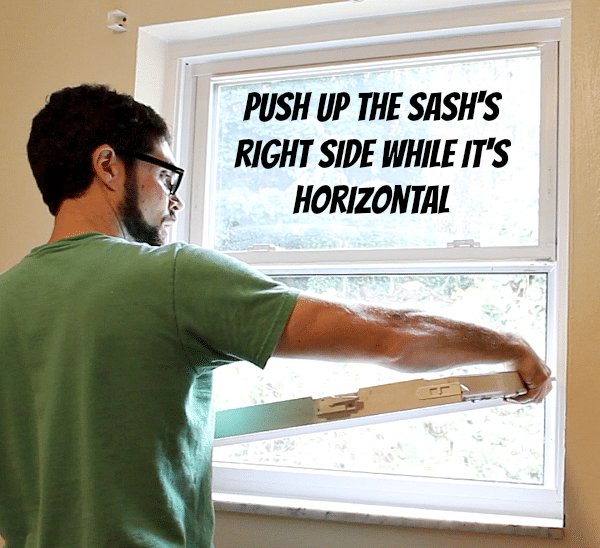
Gently pull down down your window sash until it’s parallel with the floor. It’s this part that would totally freak out my Mom but there’s nothing to worry about. You won’t break your window 😀
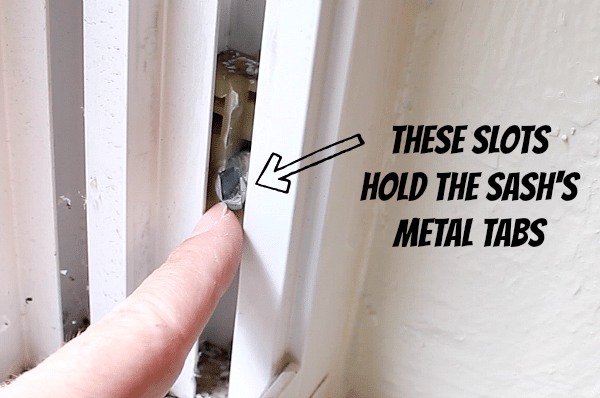
If there’s one tricky part this is it. Your sash has two metal tabs that hold it in the window frame. In order to dislodge these tabs from the window frame you’ll have to push up on the right side (or left, it doesn’t matter much) of the sash.
Then push the sash in toward the side that you pushed up. This will allow you to remove the sash from the frame.
Before you put the new window sash in place PLEASE compare its metal tabs with the old sash. As you can see in the picture below the metal tabs are different in my new window but this isn’t a big deal.
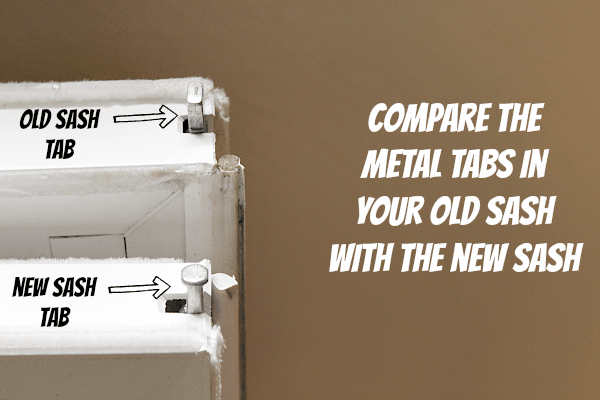
This is super important because if the metal tabs are a different shape they won’t fit into the window frame slots correctly.
The metal tabs are only held in place with two screws that can be removed with a screwdriver.
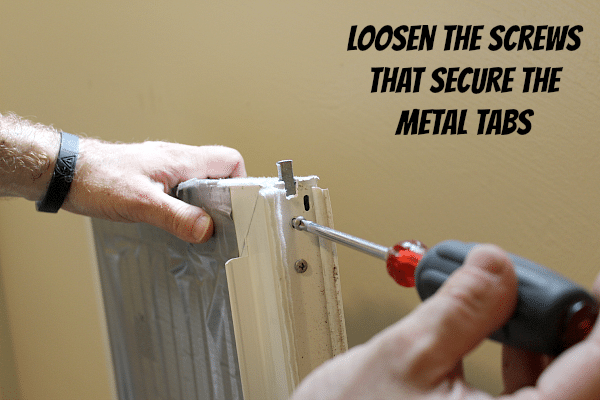
Once the screws are removed you can simply pull the metal tab from the sash.

I placed the old sash’s metal tabs in the new sash.
Installing the new sash is just as easy as removing the old one. Insert the metal tab on the left side of the new sash into the slot while tilting the right side of your window upward. Then lower the metal tab on the right side of the sash into its respective slot.
If you like how-to videos this might be a good time to watch the one I made that shows you how to do this project step-by-step.
Many apologies ahead of time though, my hair is a mess and my shirt has gobs of joint compound on it from a project I was doing earlier in the day. DIY can be messier than a kindergarten art class.
What’s Next
Learning how to install window screens is also a great way to save money. And it doesn’t take much time.
If you’re doing a bathroom remodel and need help, join one of our online courses – they’ll make your bathroom renovation much easier!
Let me know if you have any questions and I’ll do my best to help.
Thanks as always for reading, watching, and being part of our awesome community.
Cheers,
Jeff
