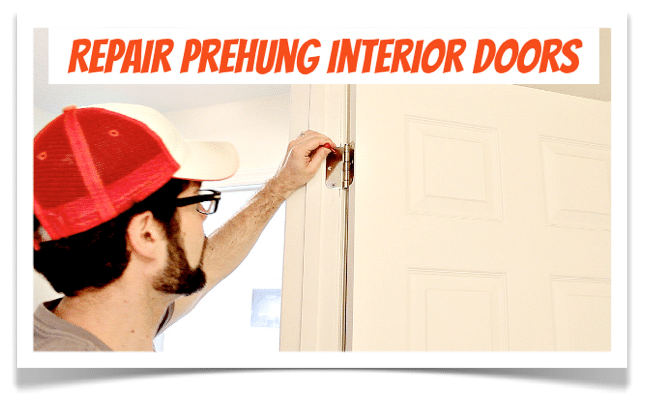
Do your prehung interior doors stick to the jamb, rub the floor, or just don’t lock anymore?
You’re not alone. This past weekend I fixed our bathroom door that was scraping the floor tile and rubbing the jamb. The door problem was most likely a consequence of our kids hanging heavy wet towels on the door handle.
No worries, though. There are 4 simple ways you can repair your prehung interior door and it won’t cost you a ton of money or take a load of time. This is a super straightforward weekend project.
How’s that for convenience?
Here’s the supply list
- Drill with driver bits
- Deck or wood screws (2 inches in length)
- Golf tees
- Wood glue
- Hammer
- Utility knife
- Shoebox
- Scissors
- Pencil
Doors that don’t work properly are like paper cuts, annoying as all heck. By the end of this post, you’ll be able to fix your prehung interior door that is sagging, rubbing, or doesn’t latch properly. This post is for Val, thanks for being a super awesome fan of HRT.
Alright, let’s get to it.
Prehung Interior Door Fix #1-Determine Where Your Door is Sticking & Tighten Hinge Screws
The first thing you need to do is determine where your door is rubbing the floor or jamb (the vertical pieces of wood that your door fits into).
There are six different scenarios:
- Your door rubs the floor below the jamb that houses the strike plate
- Your door rubs the floor below the jamb that houses the hinges
- Your door rubs the top of the jamb that houses the strike plate
- Your door rubs the bottom of the jamb that houses the strike plate
- Your door rubs the top of the jamb that houses the hinges
- Your door rubs the bottom of the jamb that houses the hinges
Here are the same six scenarios with their SOLUTIONS GUIDE:
- Your door rubs the floor below the jamb that houses the strike plate (tighten top hinge or shim bottom hinge or both)
- Your door rubs the floor below the jamb that houses the hinges (tighten bottom hinge or shim top hinge or both)
- Your door rubs the top of the jamb that houses the strike plate (tighten top hinge or shim bottom hinge or both)
- Your door rubs the bottom of the jamb that houses the strike plate (tighten bottom hinge or shim top hinge or both)
- Your door rubs the top of the jamb that houses the hinges (tighten bottom hinge or shim top hinge or both)
- Your door rubs the bottom of the jamb that houses the hinges (tighten top hinge or shim bottom hinge or both)
All the above solutions will bring your door back to plumb or completely vertical instead of tilted one way or the other.
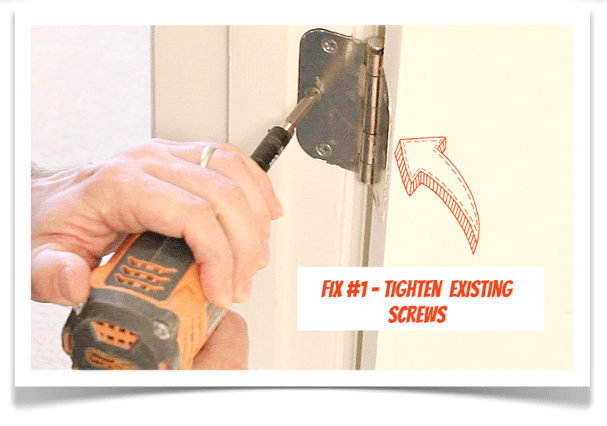
The first action you can take is tightening hinge screws and this is easy-peasy. Use your drill or impact driver to snug all the screws on the hinge that’s loose. Start with the screws that fasten the hinge to the jamb then sink the screws that fasten the hinge to the door.
If during this process your screws just spin without getting tight then move onto Steps 2 & 3. See, that was easier than eating Cherry Garcia from the container.
Prehung Interior Door Fix #2-Use Longer & Wider Screws
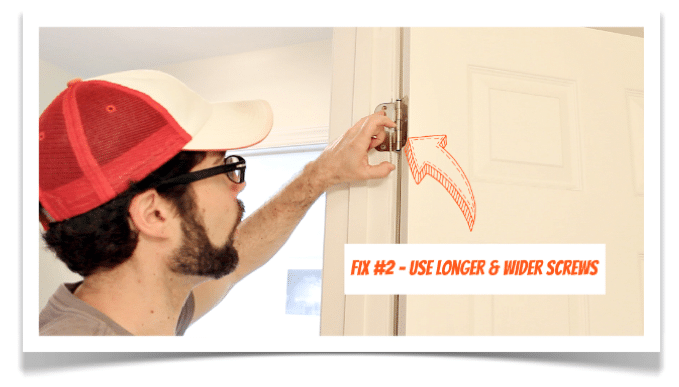
Often times the screws that come with hinges are 3/4 inch in length. This makes no sense to me since doors are usually heavy (I’m being a bit sarcastic here) and get used a lot. Replace your small screws with 2 or 3-inch wood or deck screws. They can be found at all hardware stores and will provide the extra grip necessary to keep the hinges stationary and your prehung door plumb.
Prehung Interior Door Fix #3-Add Golf Tees to Screw Holes
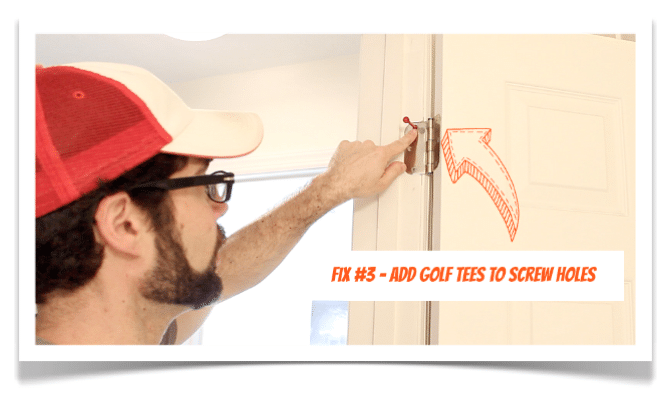
Employ the old golf tee trick for enlarged screw holes where the screw just spins like Dorothy Hamill. Add wood glue to the end of the golf tee that you’d stick in the ground. Slide it into the screw hole and tap it with a hammer. Then use your hammer or a utility knife to break off the tee so that it’s flush with the jamb or door.
Voila! Now your 2-inch screws have something to bite when you tighten them with your drill. I’ve used this technique for years and it always works. Plus, it’s cheap 🙂
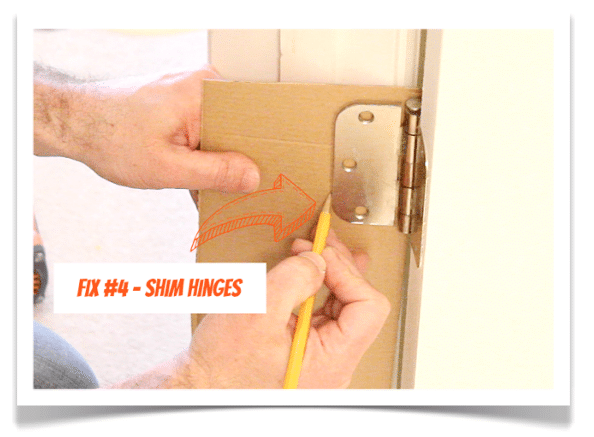
Prehung Interior Door Fix #4-Shim the Hinges
Shimming the hinges simply means adding cardboard behind them. This is a bit more involved and you’ll need to be a detective much like Magnum PI or Columbo (by the way, which guy do you like best? Magnum is super cool but Columbo had the better wit in my opinion). If you watch the video below I’ll explain how to do all the above tips plus help you determine how to use shims to stop your door from misbehaving.
In order to properly use shims, you need to first determine where your door is touching the jamb(s) or floor. You can use the Solution Guide from Step 1 to determine where to place the shims. For example, if your door rubs the floor next to the jamb that houses the strike plate you should put a shim behind the bottom hinge.
Where do you get shims for door hinges?
Shoe boxes (Thanks Zappos).
Take an old shoebox and cut out the bottom or cut the top into a 6 inch by 8-inch piece (unless your feet are super small like my grandma’s, she wore a size 4!!). Unscrew one side of your hinge and slip the cardboard behind it. Trace the outline of the hinge several times on the cardboard with a pencil. I always cut inside my trace marks to make the shim a little smaller. This helps hide the shim behind the hinge.
Use the least number of shims that it takes to make your door not rub the jamb or floor. Ideally, you still want the shimmed hinge to sit in the mortise. The mortise is the slot where the hinge sits inside the door or jamb. Without the mortise, your hinge will likely become loose over time.
What’s Next
At the beginning of this tutorial, you started with an irritating problem and now hopefully one of these 4 ways will help you fix your sticking prehung interior door.
Admittedly, there is one more solution and that is to trim the bottom of your door. But this is the last resort and for another post. Also, if your door opens or closes we have a great tutorial showing how to fix that.
If you’re doing a bathroom remodel and need help, join one of our online courses – they’ll make your bathroom renovation much easier!
Let me know if you have any questions and I’ll do my best to help.
Cheers,
Jeff


