
In the last three posts of this series, we shared how to prepare a wood subfloor for HardieBacker. You’re going to cross the finish line today.
By the end of this tutorial, you’ll know
- the proper thin-set consistency to set the HardieBacker into
- what kind of screws to use for securing HardieBacker
- how to use alkali-resistant joint tape between HardieBacker seams
- and hopefully, laugh a few times along the way
So let’s get to it.
How to Mix Thinset-It’s Like Making Pancakes!
Before the HardieBacker can be attached to the floor with screws you’ll need to add a supporting bed of modified thin-set.
What should the thin-set consistency look like? This was a BIG question I had before doing a few tile floor installations. The thin-set should be mixed with water until it barely stays on a vertical margin trowel.
You’ll need a few supplies to mix up the thin-set
- one 5 gallon bucket
- water
- margin trowel
- scrap piece of wood or HardieBacker
- 1/4 square notched trowel
- chemical resistant gloves
The best way to mix thins-set is to add water to your bucket then add the powder; this will prevent thin-set powder from sticking to the bottom of the bucket.
If your bathroom is somewhat small you may want to mix half a bag of thin-set at a time. Smaller batches are easier to mix in the 5-gallon bucket, especially if you’re going to do it by hand with a margin trowel as we did.
We only mixed up enough thin-set to fill 1/4 of the 5-gallon bucket.
Once the consistency looks like thick pancake batter we like to test it. You can scoop out a small amount onto a scrap piece of wood or better yet HardieBacker. Take your 1/4 inch square notched trowel and spread the thin-set.
If the square notches of thin-set standup without drooping then you’re good to go. You want to also look for any unmixed dry power. If you notice this you’ll have to remix your batch.
Once you’re convinced the thin-set is thoroughly mixed let it stand untouched for 5 minutes. This allows it to fully absorb the water.
Apply Thin-Set to Wood Subfloor
This might be the funnest part of installing HardieBacker. It’s also the easiest part.
If you have a pair of knee pads put them on for this step. If you don’t have knee pads rest your knees on an old towel. You’ll be a lot more comfortable.
Take the 5-gallon bucket and scoop out a portion of the thin-set. Only use enough to cover the area of the wood subfloor where the first HardieBacker panel will be installed.
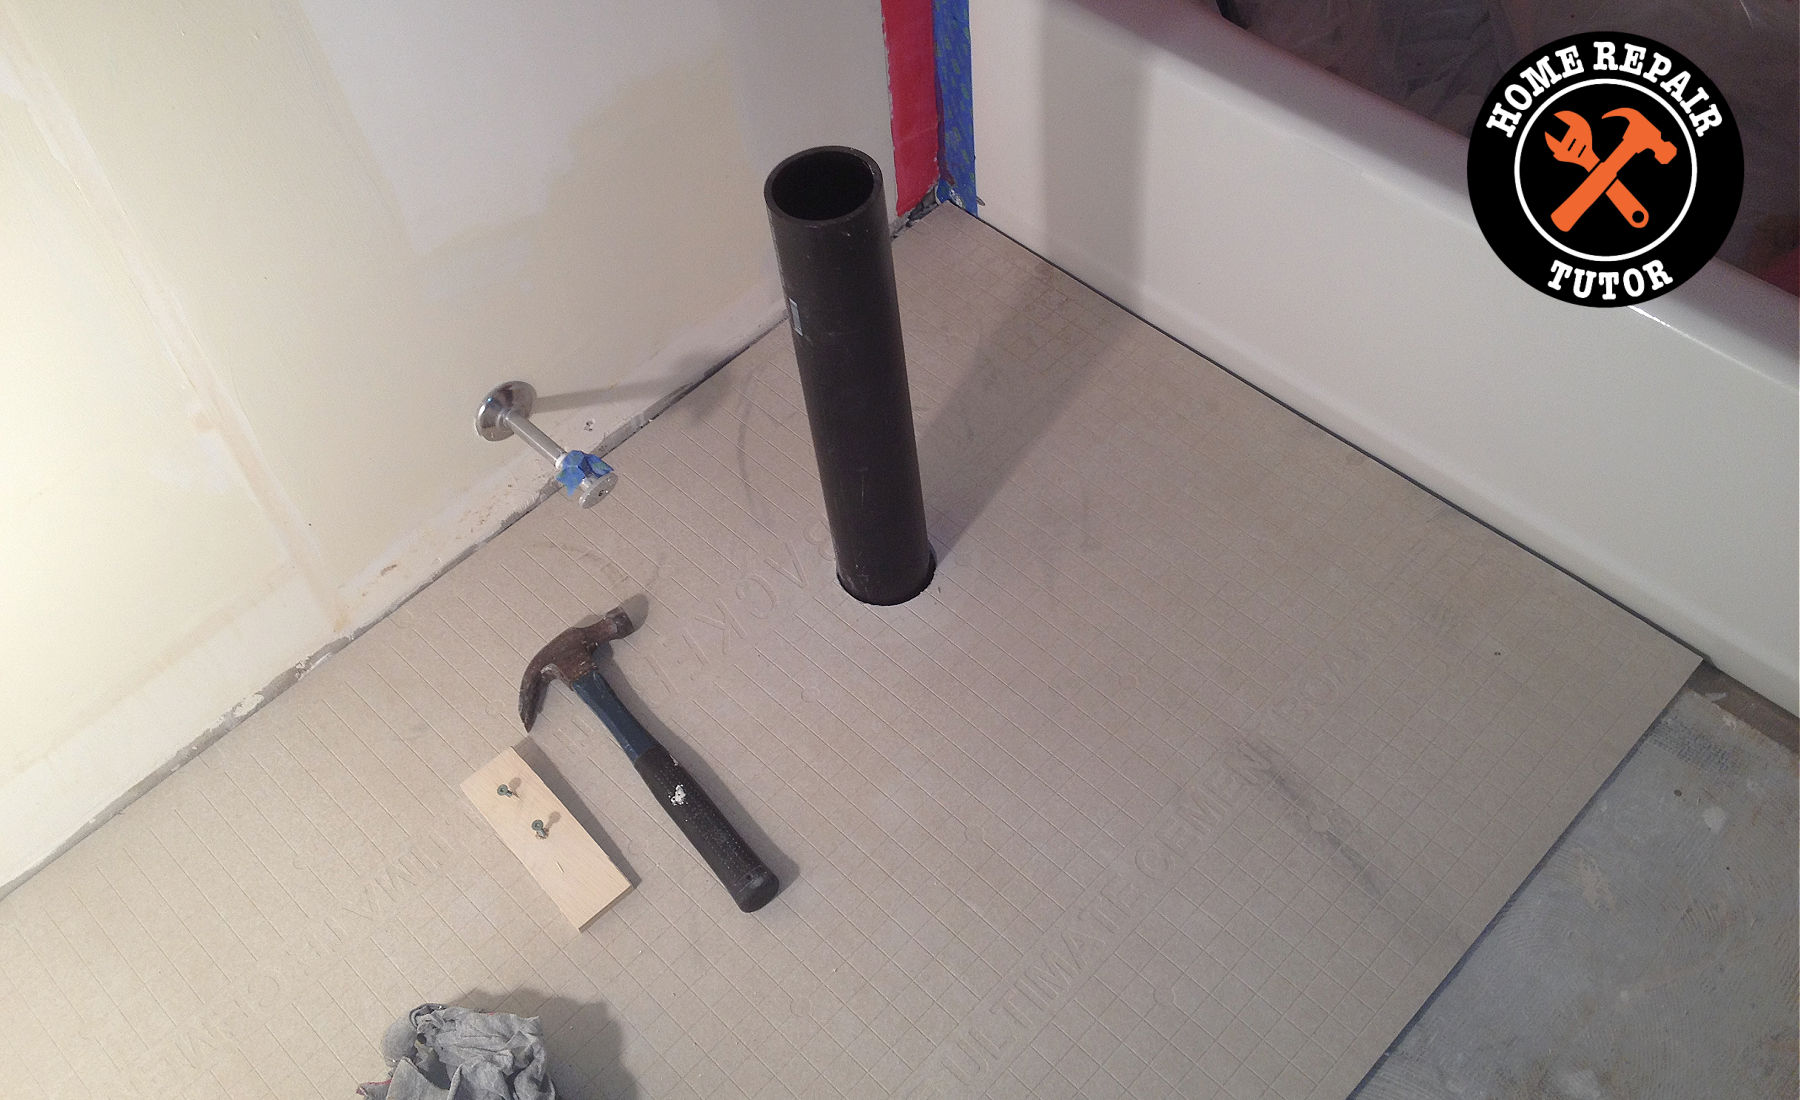
Spread the thin-set around the wood subfloor with the 1/4 inch square notched trowel. Make sure every single nook and cranny is covered. Hold the notched trowel at a 45-degree angle and make straight lines in the wet thin-set. Stuff a rag into the toilet waste pipe. This will prevent thin-set from going down the pipe and also stops nasty smelling sewer gas from infiltrating your nostrils (it’s disgusting!).
Your first section of the thin-set covered wood subfloor should look something like this with all the trowel ridges facing the same direction. This is called directional troweling and also important when tiling bathroom floors.
Take the HardieBacker panel and embed it into the wet thin-set. In this example We set one edge of the panel against the wall just underneath the toilet shut off valve and lowered it onto the thin-set. Make sure the dimpled side of the HardieBacker is facing up toward you and the smooth side is embedded into the thin-set.
We did this for the second piece of HardieBacker, too. Once you know how to do one section you know how to do the rest of the floor.
For small bathrooms, we embed all the HardieBacker panels into the thin-set before screwing it. We do this because typically there’s extra thin-set sitting in your bucket that’s leftover from installing the first panel. This thin-set would dry out while you’re screwing the HardieBacker to the wood subfloor.
So rather than waste the thin-set we use it and mix up more (if needed) to embed successive panels.
Securing HardieBacker Panels
There are alkali-resistant screws specially made for installing HardieBacker panels. Don’t use drywall screws. They aren’t as strong as cement board screws and lack the alkali-resistant coating that prevents them from breaking down over time. They’re called drywall screws for a reason.
You can find Backer-On screws at most building product stores.
The great thing about these screws in particular is you install them with a square drive bit. This is great because square drive bits don’t spin out like Phillips head bits. Plus, you get the square drive bit for free with the screws (I’m not opposed to getting free tools, are you?).
Having an impact drill/driver will make driving the screws into the HardieBacker easy. But if you don’t own one of these great tools a drill will work.
Start at the corner of your HardieBacker panel. Then fasten screws across the width until you reach the opposite side. Do this until the entire panel is secured with screws.
Install screws until they are flush with the panel and use the HardieBacker fastener pattern as a guide.
In general, a screw should be fastened every 8 inches over the entire panel surface. Keep screws 1/2 inch away from the panel edges and 2 inches away from panel corners.
There’s one final crucial step to installing HardieBacker-fill all joints with the same mortar you’ll use to attach the tile and then embed alkali-resistant fiberglass mesh tape. Remember my goof from the prior post? I forgot to extend the HardieBacker into the door jam. This left a small 1-inch piece of HardieBacker within the door jam opening.
In order to make this strong we needed to fill in the seam with mortar and embed the cement board tape.
Use a very thin layer of mortar to embed the tape, you don’t want to create a hump on the HardieBacker. This hump will make the tile uneven and not level. Bad news for any tile installation.
This is absolutely the most important step in preventing cracks in new tile. The tape and mortar help solidify the HardieBacker joints and make the panels one cohesive solid unit.
Congrats!!! Your new beautiful ceramic or porcelain tile now has a rock-solid foundation. Another option, other than HardieBacker, is to use DITRA or STRAT MAT; these are uncoupling membranes and work a little differently, plus they’re lighter.
Here are the Summary Points
- Add a supporting bed of modified thin-set to the wood subfloor
- Mix thin-set to a consistency that will barely stay on a vertical margin trowel
- Small batches of thin-set are easier to mix by hand
- Allow thin-set to sit in the bucket for 5 minutes to fully absorb the water
- Cover the area with thin-set where the first HardieBacker panel will be installed
- Smooth out the thin-set into straight lines by pulling the 1/4 notched trowel across the wood subfloor
- Stuff a rag into the toilet waste pipe to prevent thin-set from dropping into it (this also stops the smell of poo from entering your house! And I’m not talking about Winnie the Pooh, there’s no honey coming up from your sewer lines-trust me)
- Embed the smooth side of the HardieBacker into the wet thin-set
- Use alkali resistant screws to attach the HardieBacker to the wood subfloor
- Start fastening screws in one of the corners of the HardieBacker panel
- Fasten screws until they are flush with the panel
- Use the HardieBacker fastener pattern as a guide.
- Keep screws 1/2 inch away from panel edges and 2 inches away from panel corners
- Fill in joints between HardieBacker panels with the mortar you’ll use to install tiles
- Embed alkali resistant tape along HardieBacker joints
What’s Next
If you missed the prior posts on how to prepare your bathroom floor for tile here they are
- My Super Secret Way to Install Bathroom Floor Tile-Part 1 (Checking the bathroom wood subfloor’s structural integrity)
- My Super Secret Way to Install Bathroom Floor Tile-Part 2 (Determining the Layout of HardieBacker)
- My Super Secret Way to Install Bathroom Floor Tile-Part 3 (How to Trim and Cut Holes in HardieBacker)
If you’re doing a bathroom remodel and need help, join one of our online courses – they’ll make your bathroom renovation much easier!
Let me know if you have any questions and I’ll do my best to help.
Cheers,
Jeff
