
Today you’ll learn how to remove a bathtub.
And I highly recommend replacing old bathtubs for two reasons.
First, the plumbing is typically shot. Even old cast iron tubs start to develop rust at the plumbing connections.
The last thing you want is to remodel your shower and then develop a water leak.
Second, if the tub isn’t level this will make your tile work really difficult.
Installing a level tub makes your tile wall installation so much easier!
So let’s dive into tub removal and see how to do it safely.
Bathtub Removal Supplies
Here are the supplies you need to remove a bathtub
- Gloves
- Safety Glasses
- Respirator
- Hammer
- Super Bar
- Reciprocating Saw
- Utility Knife
- Channellock Pliers
- AutoCut Copper Pipe Cutting Tool
- Impact Driver
- Impact Driver Bits
- Duct Tape
- Rags
- These Amazon Links help support Home Repair Tutor, many thanks for using them
What’s the first step you should take?
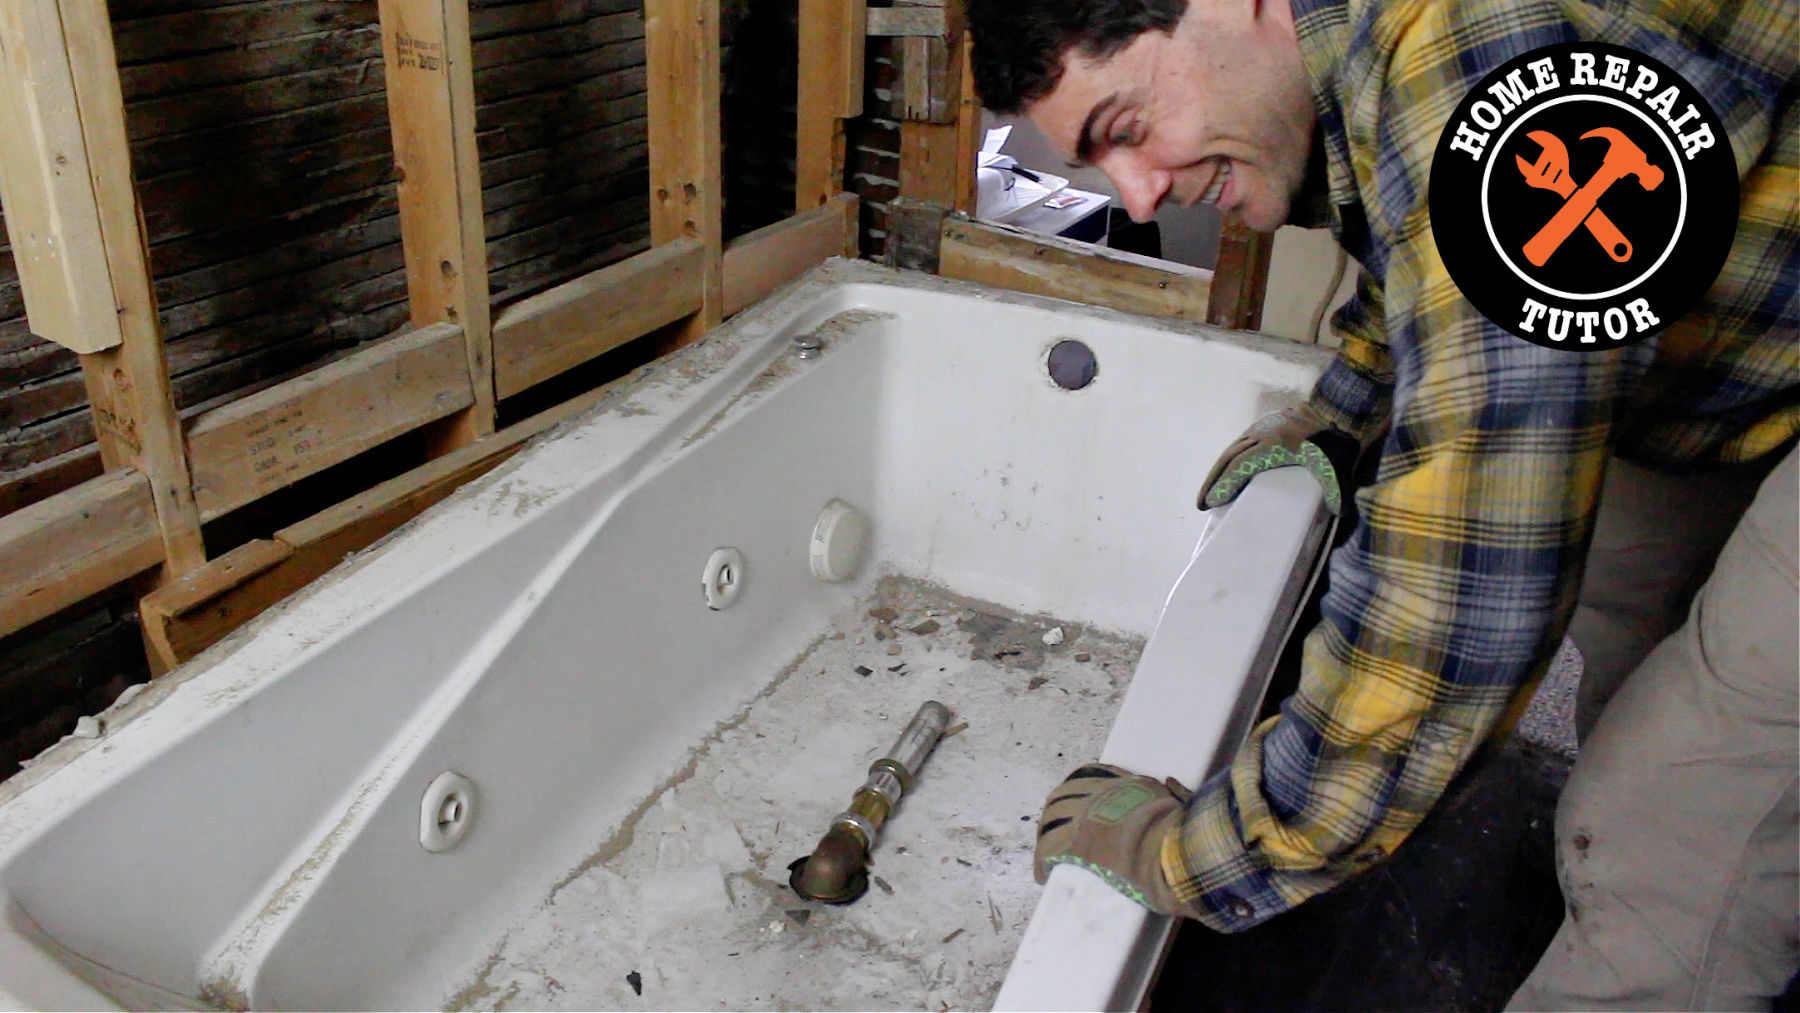
How to Remove a Bathtub…Safety FIRST
First things first, place duct tape over your tub drain.
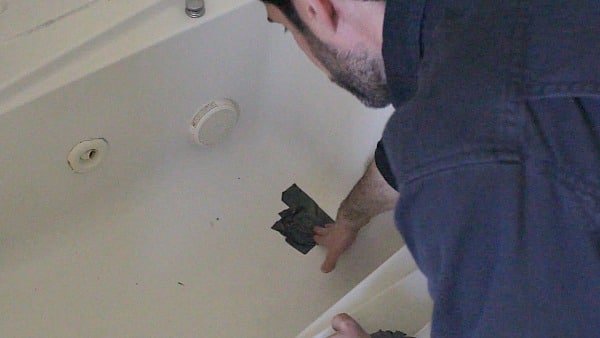
This stops debris from going down the drain and clogging your pipes.
Small but powerful tip.
Turn the water off to the house – do this at the main shutoff; which is usually in the basement (at least here in Pittsburgh) or garage.
Then drain the water.
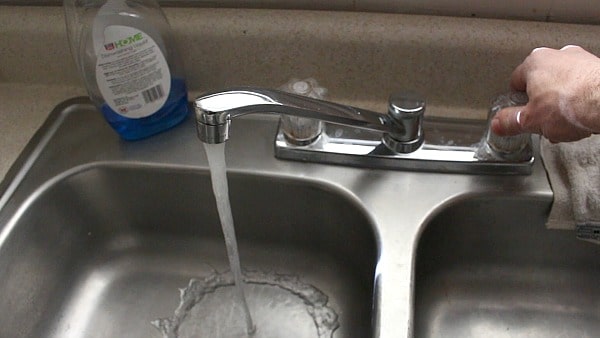
I did this in the kitchen.
Turn the electricity off.

The tub I was removing was a whirlpool tub.
So it had electricity running to it.
The last thing you want is to get shocked while removing a tub.
That’s a bad obituary,
“Local man dies while removing crappy old bathtub, tonight at 5”
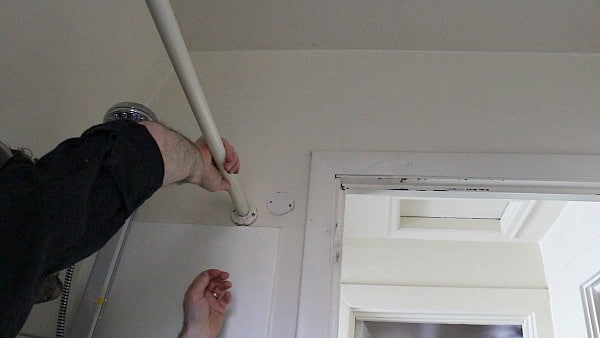
Remove the shower curtain and curtain rod
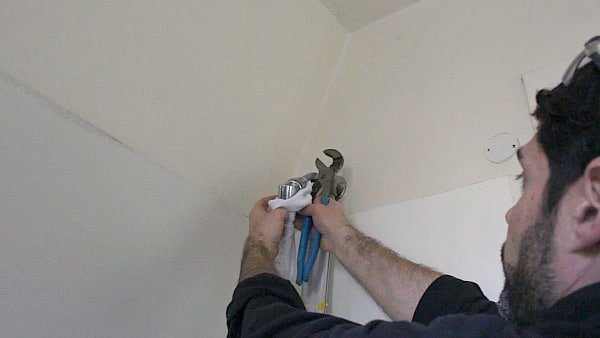
Remove the showerhead
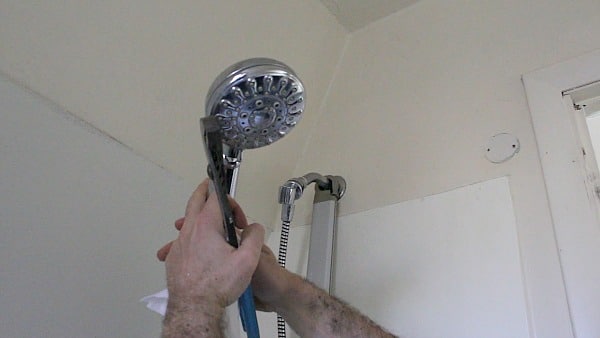
If you’re reusing the shower head here’s a tip,
Place a rag over it and use your Channellock pliers to loosen it from the shower arm.
This prevents the channel locks from scratching the shower head finish.
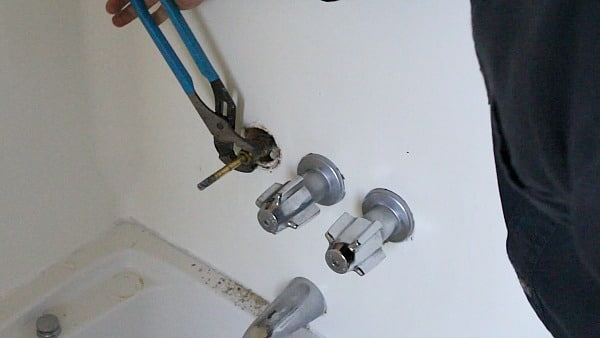
My shower had an old school 3 handle setup.
If your shower looks the same remove the screw from the handle.
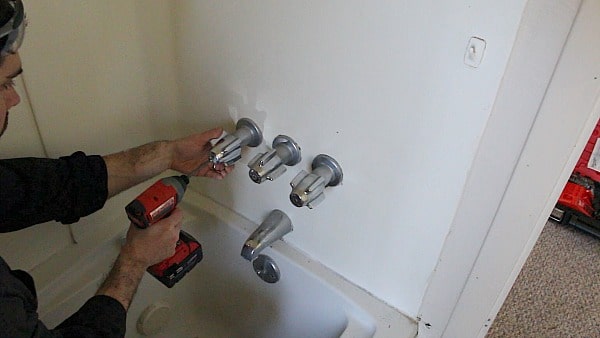
Pull the handle and escutcheon off the shower stem.
I had to, ahem, coax the handle off the stem with my pliers.

This is the escutcheon
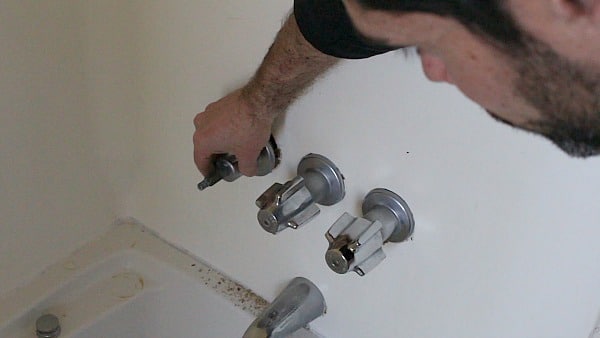
Remove the stems from the shower plumbing by turning them counterclockwise.
This is where Channellocks come in handy, love LOVE these to death.
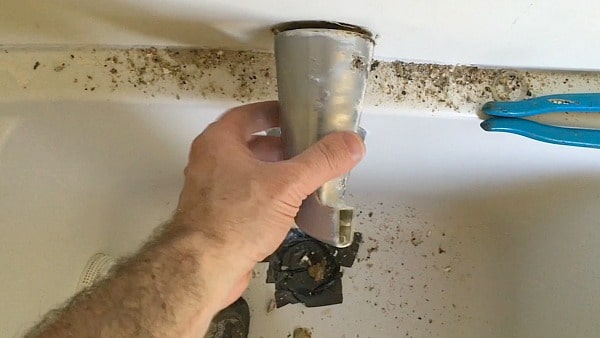
Check the tub spout for a set screw.
If you have one, loosen it with an Allen wrench.
Turn the tub spout counterclockwise or simply pull it off the copper.
These are the very first steps for a tub removal.
The fun demo is next…
Tub Surround DEMO (fun times)
If you need a cathartic experience demoing a tub surround is the answer.
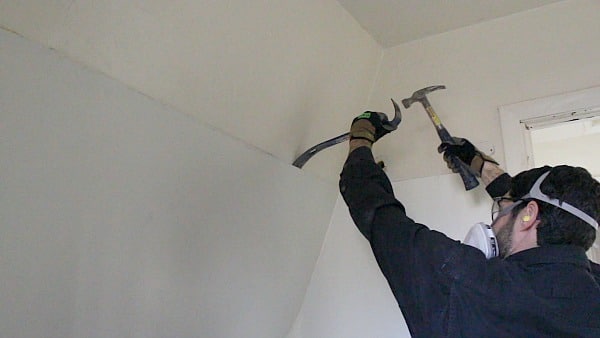
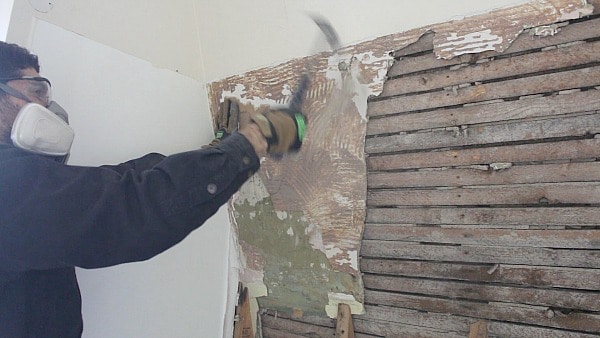
Grab a super bar and hammer.
Side note: any project with a hammer is fun, right!!
Pound the super bar behind the tub surround and pry it loose.
Not a bad idea to cut silicone caulk at the corners and tub.
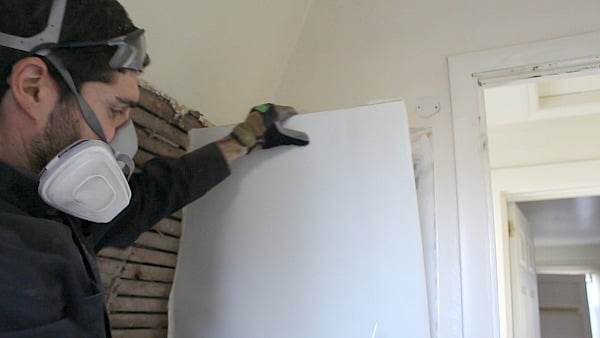
Also, don’t forget to wear a respirator. Breathing dust and chemicals isn’t safe, especially in old homes like this one.
In this example, our tub had FRP (fiberglass reinforced plastic) on the main wall.
That’s what I’m prying off.
But you’ll likely have a one-piece or three-piece fiberglass tub surround.
Cut the corners of the tub surround with a reciprocating saw.
This makes pulling the surround off the wall pretty straightforward.
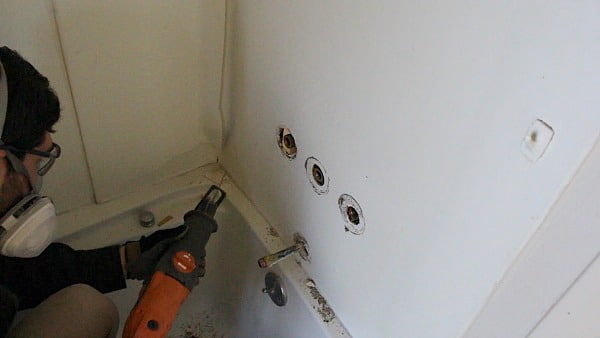
If you have plaster or drywall behind the surround remove it with a hammer.
This plaster was nasty. It’s over 100 years old!!!
Repeat this process for the plumbing and back wall of the tub.
Before you can tear out the tub you need to tackle the plumbing.
This is easy.
Tub Plumbing…the FINAL Swan Song
In a prior tutorial I showed how to install shut-offs in a tub.
Well, that was done before I decided to demo this tub, haha.
That said if you’re keeping the copper plumbing, you’ll love these tips.
Cut the copper pipes using an AutoCut tool (by far my favorite copper pipe cutter).
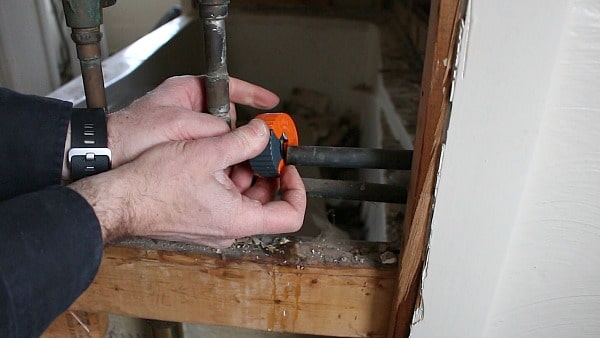
Then slide on SharkBite shutoffs.
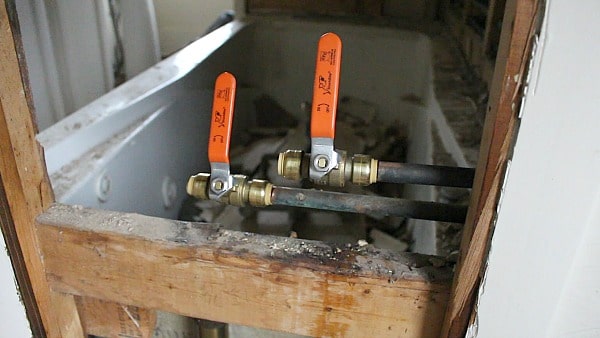
Yep, it’s that easy.
Although I recommend checking out the full tutorial on how to install SharkBites.
My video shows you all the details of the next several steps.
You have to remove the tub overflow and drain.
I almost forgot to take out the tub drain which was kind of funny.
Watch the video to see me suck in my stomach to get the tub out of the house!!
What’s Next
Tub demo is just one part of any bathroom renovation.
I also have videos showing how to remove a toilet and how to remove old flooring from a bathroom (6 layers!!!).
If you’re remodeling a bathroom and need help I highly recommend our Platinum Membership. You’ll get access to step-by-step tutorials and (most importantly) personal coaching from me.
Tap the button below to learn more
Cheers,
Jeff
