
Tiled Bathrooms can be beautiful.
Or ugly…
It depends on how you use it. Our tiling tips will make your bathroom faster to renovate and easier to clean.
We promise you’ll learn at least one idea you can use today.
Let’s dive in!
Each week we get tons of tile questions.
Today’s tutorial is a high-level overview.
You’ll likely have questions at the end.
And that’s okay…ask them down in the comment section!
Tip 1: Large Format Shower Tile
Do you like cleaning your bathroom? If you said yes, god bless you.
I hate cleaning but it’s a necessary evil.
One way to cut down on cleaning time is to use large format tile

The white tiles in the above picture are 12 x 36 inches. After I’m done showering I use a squeegee to remove water and cut down on water spots.
If you like subway tiles better…go for it, but I love large tiles, especially ones with a high gloss finish.
Tip 2: Large Format Floor Tile
Same thing goes for floor tile, the larger the tile the less cleaning.
Large tiles also mean fewer grout lines.
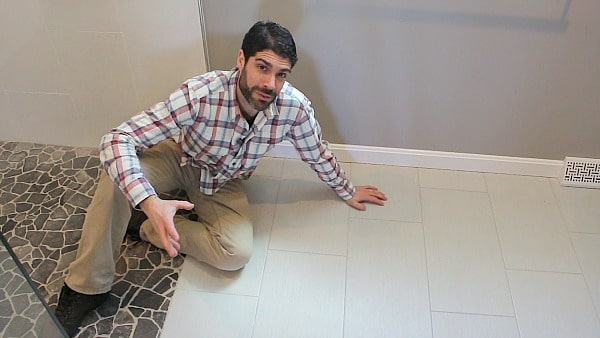
Floor tiles should have a rougher finish than wall tiles. This helps maintain grippiness (is that a word?) when the tiles get wet.
And as you know, all floor tiles get wet. This type of tile makes your bathroom safer…and that’s always a good thing.
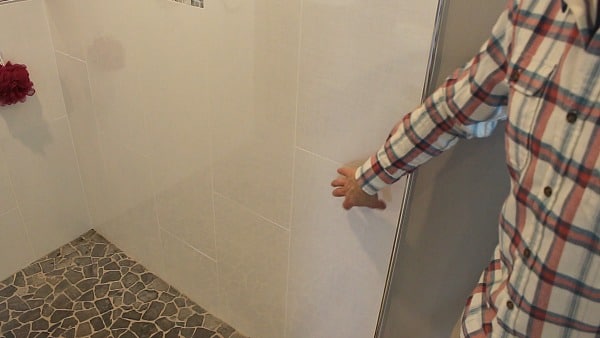
Tip 3: Tile Up to the Ceiling
Have you seen moldy drywall? It’s pretty disgusting.
One way to avoid this problem is to tile up to the ceiling.
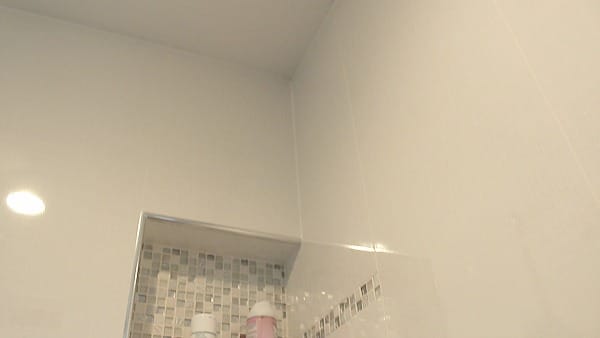
Do this instead of leaving a sliver of drywall. You’ll thank me 2 years down the road.
In my experience, particularly if someone tall is using the shower, water splashes on painted drywall. Eventually paint will peal and the drywall gets water damage.
Spend the extra bucks to tile up to the ceiling. It’s worth it.
Tip 4: Save Money with Schluter Profiles
Bullnose or pencil trim tiles are EXPENSIVE!!!
I’ll say that again…EXPENSIVE.
One way to save is to use a modern profile edge from Schluter.
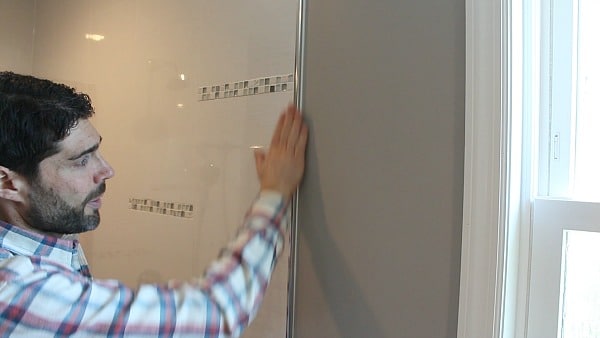
Schluter profiles are a fraction of the price of bullnose tile and are easy to install. Plus they come in a variety of different colors and finishes.
We suggested this option to my mother-in-law and she’s putting a Schluter profile in her new bathroom.
Tip 5: Choose Accent Tiles Wisely
There’s nothing better than a sexy accent tile. These tiles flat out can make or break your shower tile.
Choose accent tiles that are just as thick as your surrounding tile. That way the accent tiles will abut against the adjacent tiles and be even.
It’s not bad if the accent tiles are thinner than the other tiles. You can always place DITRA behind the accents to make them flush with other tiles.
Tip 6: Buy a Quality Thin-Set
How many times will you remodel your bathroom?
Maybe every 20 years? Here’s the point: you’re not doing this every year.
So chances are good that you want your tile to stick to the walls.
Buy a good thin-set…we recommend Ardex X 77 for wall tiles.

Mapei also makes great thin-set. If you’re installing floor tiles check out Mapei’s Kerabond.
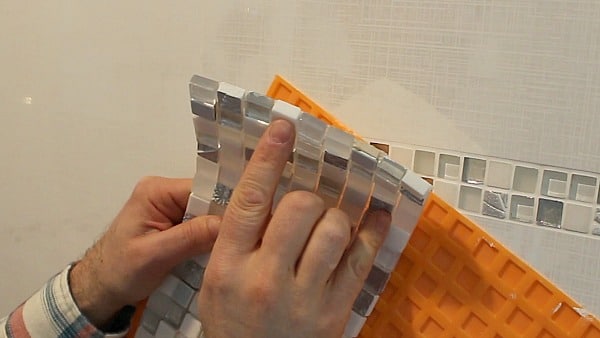
Tip 7: Horseshoe Shims and Tuscan SeamClips
Do you want great looking grout joints? I mean perfectly spaced grout joints? If so you need horseshoe shims
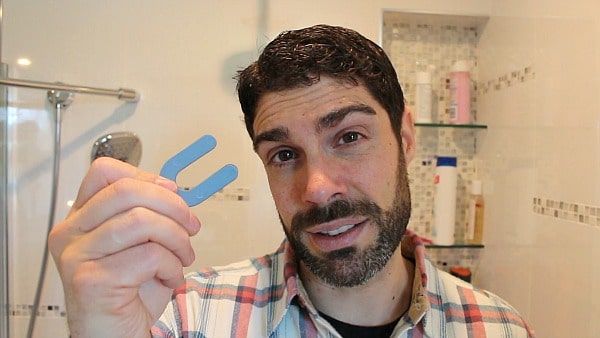
They’re plastic and come in 1/16 inch increments. Thus, you can use them to maintain great grout joints in accent tile or your main field tile.
If you want tiles to be even, that is no lippage across tile transitions, then use Tuscan SeamClips
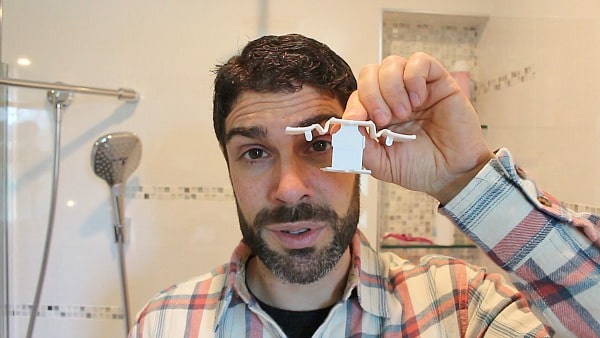
These little contraptions are awesome at getting your tile nice and level. SeamClips do require you know the thickness of your tile.
So get that dimension before buying them.
Tip 8: Space Long Tiles in Thirds
Long tiles are becoming popular. Here’s one huge tip:
space long tiles by thirds.
This prevents lippage on walls and floors. There’s nothing worse than stubbing your toe on a tile. Space your tiles accordingly
Tip 9: Get Stain Resistant Grout
Grout can start to look pretty nasty after a few years. Invest in a grout that will be stain resistant.One such product is Bostik’s QuartzLock.
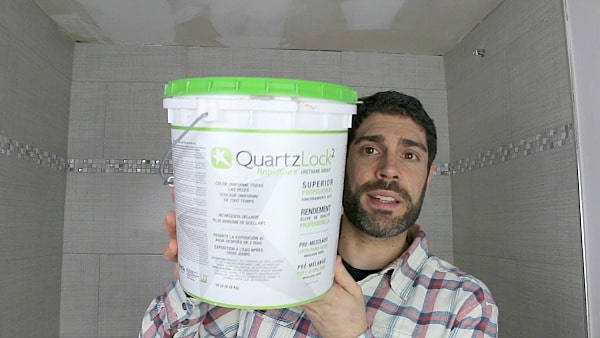
It has color consistency, comes pre-mixed, and doesn’t require sealing. Ardex also makes great sanded and non-sanded grouts.
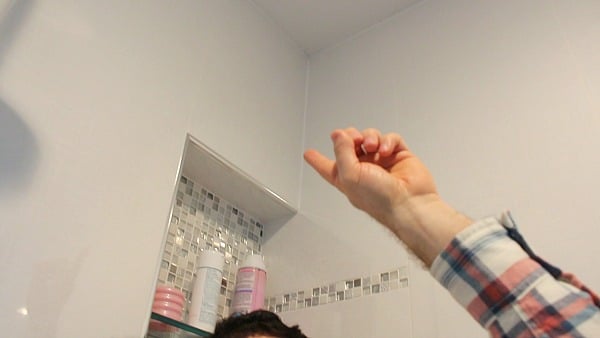
Tip 10: Silicone the Corners
True story:
Every time I visit a hotel room I look in the corners of tiled showers.
Why?
It’s a little test to see if the installer cared about their work. Silicone caulk should be used in tiled corners and at the tub/tile transition.
If you use grout it will eventually crack over time. Which means you’ll have to remove and replace the grout…no fun.
Plus: grout isn’t waterproof. Only 100% silicone caulk can properly seal tile in corner.
What’s Next
My tutorial on how to tile a shower wall is great for anyone tackling a DIY bathroom remodel.
If you’re doing a bathroom remodel and need help, join one of our online courses – they’ll make your bathroom renovation much easier!
Let me know if you have any questions and I’ll do my best to help.
Thanks for visiting Home Repair Tutor!!
Cheers,
Jeff
